
Preparing Your File for 3D Printing
This tech doc will go over the steps to prepare an .OBJ file to take to the Print & Media Lab (B100) for 3D printing.
If your model has more than 800,000 polygons you will have to reduce the number of polygons in your 3D content creation software before importing it into Meshmixer to prepare it for printing on the FormLabs Form 2 printer in the Pint & Media Lab (B100).
The 3D monkey model shown in this tech doc was modeled by John Mahoney as a demo for his ZBrush class.
Reducing the number of polygons
Export your model from your 3D content creation application (e.g. Maya, Cinema 4D, ZBrush) as an .OBJ or .STL file.
Your model should have a maximum of 800,000 polygons at this stage. If your model has more than 800,000 polygons, you should reduce them using tools in your 3D content creation application before exporting your model.
- In Maya, use the Mesh > Reduce tool. Refer to the Autodesk article found at: https://knowledge.autodesk.com/support/maya/learn-explore/caas/CloudHelp/cloudhelp/2018/ENU/Maya-Modeling/files/GUID-227DC277-EB08-4038-932E-ED8B1BC73A0E-htm.html
- In ZBrush, use the Decimation Master plugin. This is a free plugin that is already installed on lab computers. If you are working on your personal computer or would like to read the documentation, go to the Decimation Master website at: http://pixologic.com/zbrush/features/decimation/
- In Cinema4D, use the Polygon Reduction Generator. Watch Cinema 4D’s youtube video for features: https://www.youtube.com/watch?v=IAWt61wKKsM
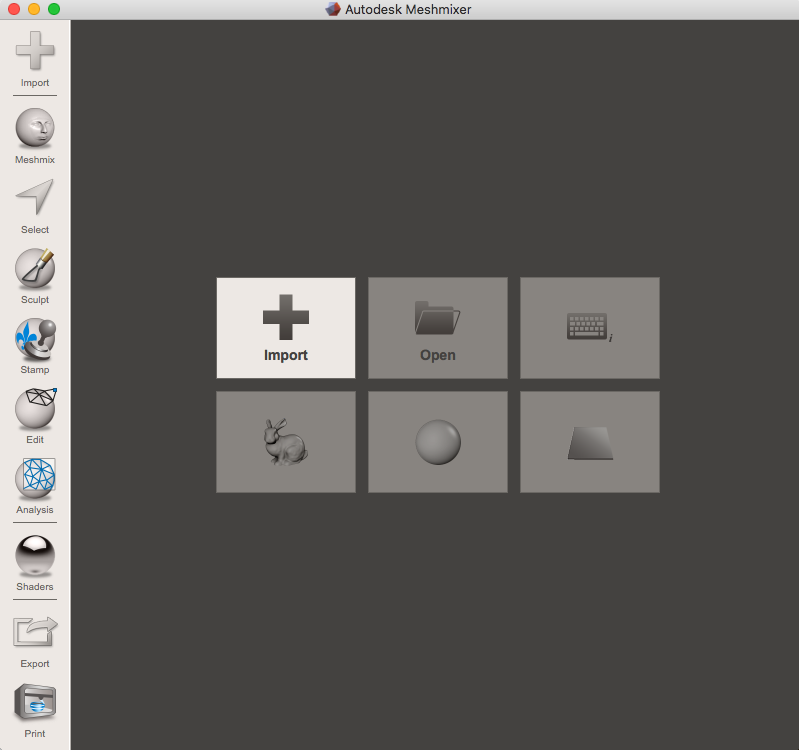
Meshmixer
- Open Meshmixer from the applications folder.
- Import your .OBJ or .STL file into Meshmixer by clicking Import.
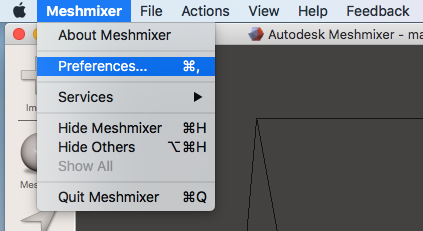
- Go to Meshmixer > Preferences.
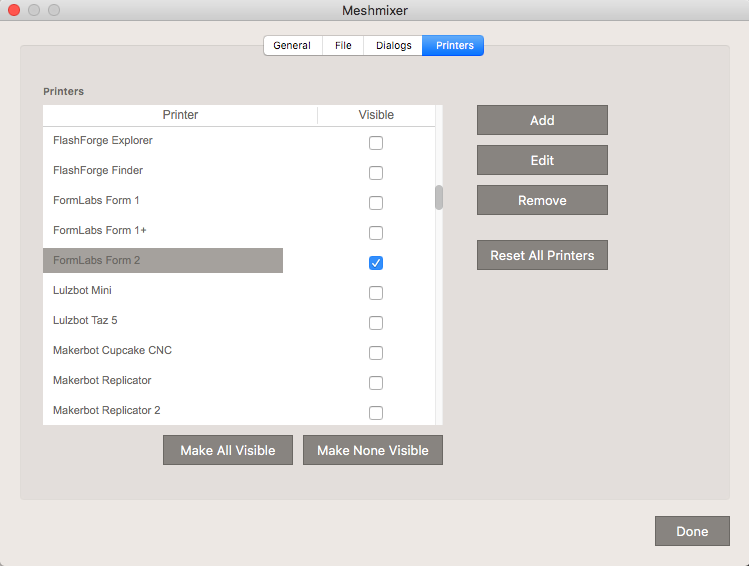
- In the Preferences window, select the Printers tab. Click Make None Visible. Then check the box next to FormLabs Form 2. Click Done.
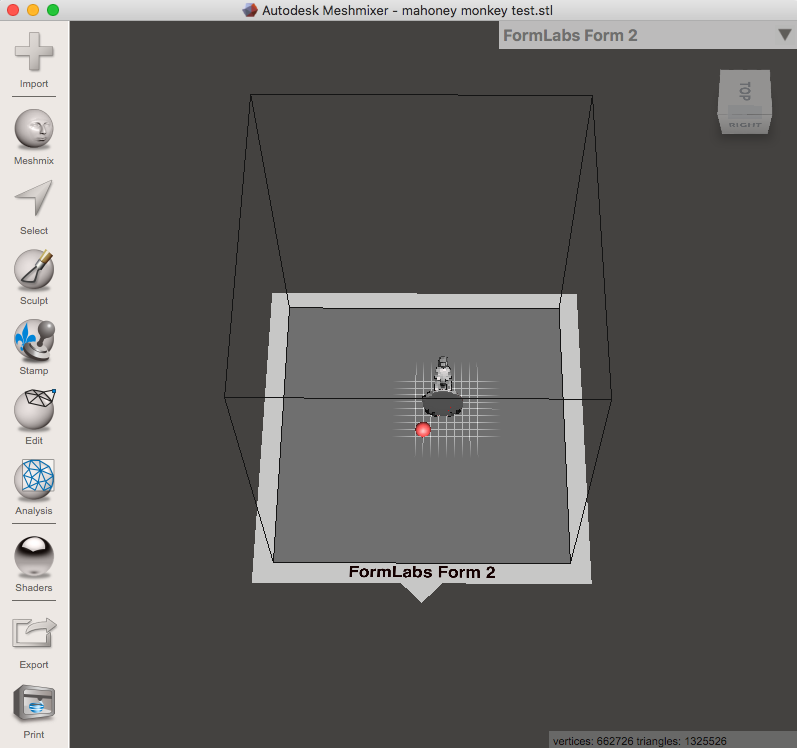
- The printing bed of the FormLabs Form 2 printer will now be visible in the Meshmixer viewport.
- Click on Edit on the left side of the screen and select Transform.
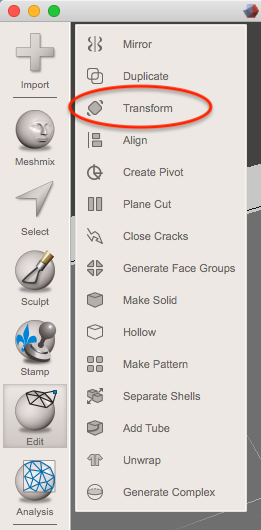
- In the Transform menu, you can scale your model by changing the Scale X, Scale Y, and Scale Z values. For uniform scaling, check the Uniform Scaling. You can also rotate or translate your model. Click Accept when finished transforming your model.
The maximum build volume of the form labs printer is 145 x 145 x 175 mm (5.7 x 5.7 x 6.9 inches).
- You will probably want to hollow our your model to use less resin when printing your model. The print lab charges by the amount of resin needed to print your object, so hollowing our your model before printing will save you money. To hollow your model, go to Edit > Hollow.
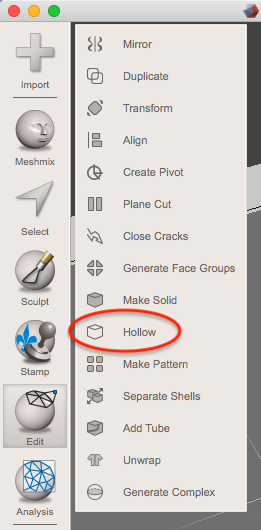
- Meshmixer will do some calculations and then show you the transparent rendering of your model. This rendering shows you the inner hollow cavity of the model. Change the Offset Distance in the hollow menu to 1.5 mm. This specifies the thickness of the walls of your model. Then click the Update Hollow button. After Meshmixer finished updating, click Accept.

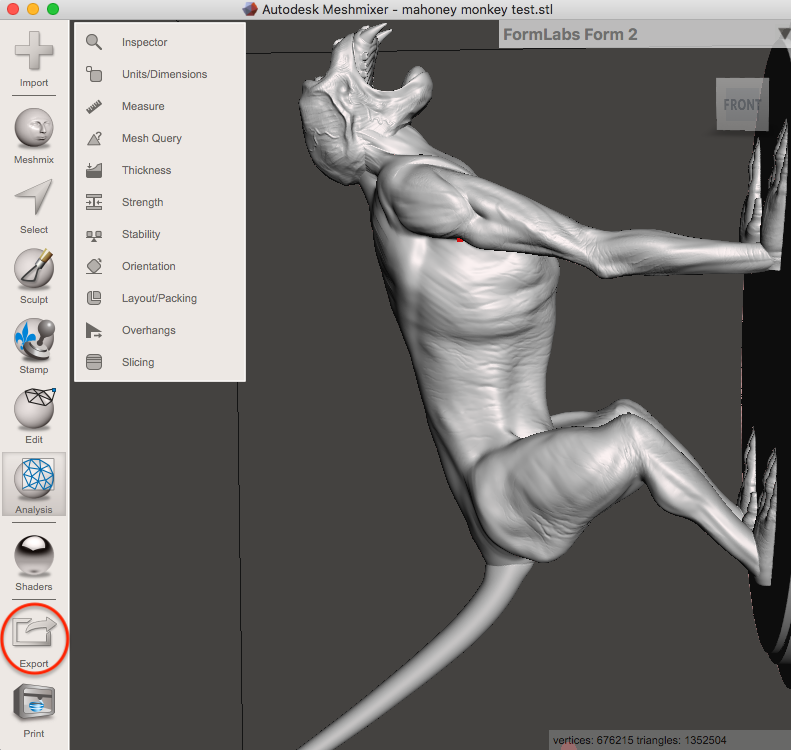
- Click Export on the left side of the screen.
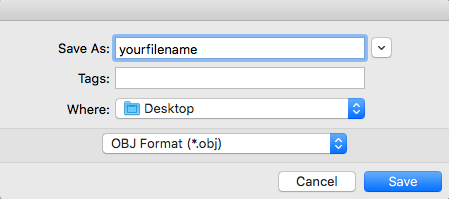
- In the save file popup dialogue box, give your file a name, set a destination, and select .OBJ as the file type. Click Save.
- Now that you have exported your model as an .OBJ file, copy it to a thumb drive and bring it to the Print & Media Lab, which is located in B100. The Print & Media Lab will tell you the price of printing the model, how long it will take to print, and how to make a payment.