
Working with Proxies in Premiere for RED & 4K Projects
If you’re editing a project with media that is high resolution, Raw, or on a slower computer you may decide to edit with proxy files instead of your original media. Proxies are copies of the original media using a codec that is easier for a computer to process and often in a lower resolution than the original media. This helps achieve real-time playback and faster render speeds while editing, and it’s easy to switch back to the original media throughout the editing process or when the edit is finished.
Adobe Premiere Pro has great integration with proxies, but the workflow isn’t entirely intuitive. This tech doc explains how to:
- create proxies in Premiere Pro
- select a proxy preset and the presets that are available at the School of Film/Video
- create your own proxy presets at home or for special aspect ratios
If you prefer to work with your original media rather than proxies, work in one of the DEP edit suites with a 10GB high speed connection (labeled with a ![]() sticker).
sticker).
Inspecting Your Media
Before you begin making proxies, you need to figure out the resolution and aspect ratio of your original media.
- Open your project in Premiere Pro and, if you haven’t done so already, import the media as you would normally.
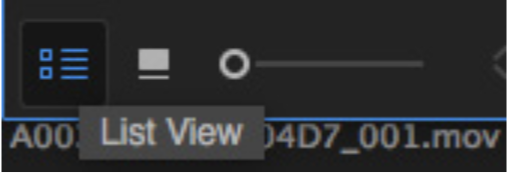
- Find your media in the Project Browser. Click the List View button on the lower left.
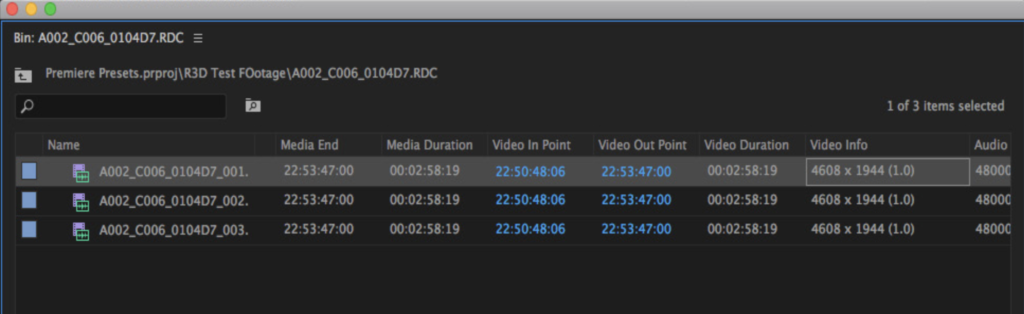
- In the browser, scroll to the right until you see the Video Info column of metadata to see information about your media resolution (the example below shows the media resolution is 4608 x 1944).
- Take note of the media resolution. If you have multiple resolutions for different media files, take note of each unique resolution that you intend to make proxies for.
- Determine the aspect ratio of the media resolution(s). Using a calculator, divide the first number in your resolution by the second number and round off to two decimals. For example: for the resolution above, 4068 divided by 1944 is 2.37 aspect ratio. If you are working with multiple resolutions, you will need to calculate the aspect ratio for each resolution.
Common aspect ratios include: 1.33 (4:3 SD), 1.375 (Academy standard film), 1.67 (European widescreen standard), 1.77 (16:9 HD), 2.35 or 2.39 (Cinemascope).
Selecting Proxy Settings
- Select your all the clips with the same aspect ratio. Right-click and select Proxy > Create Proxies…

Do not select clips that have different aspect ratios. Your proxies will be stretched!
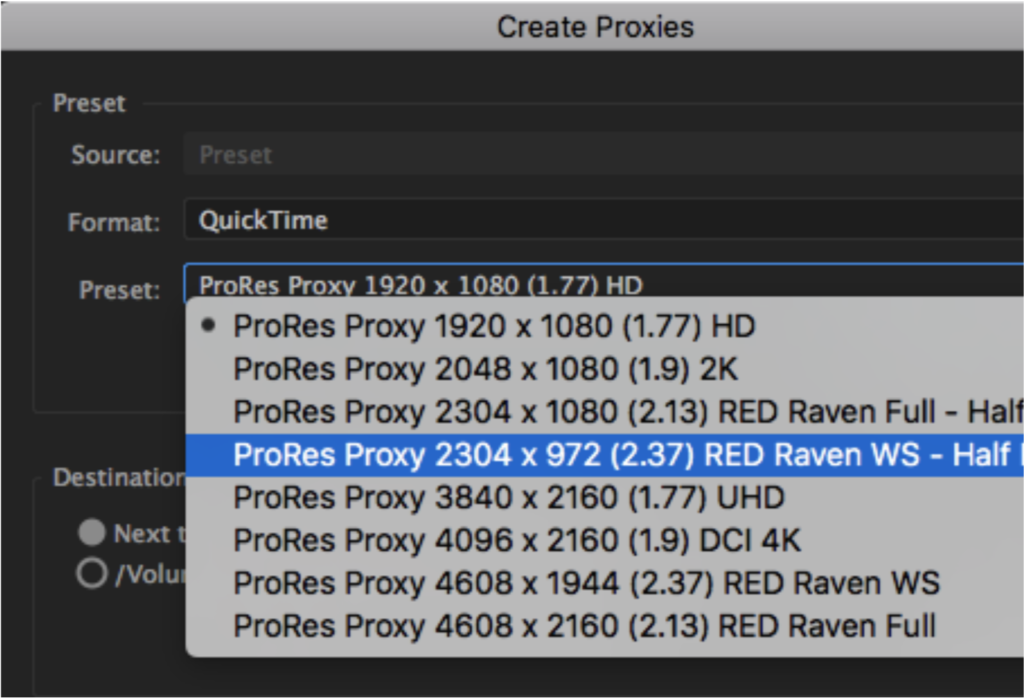
- Under Format, select Quicktime and under Preset, select a preset with an aspect ratio that matches your media. In the example below, the chosen resolution is half of the original media with the appropriate aspect ratio of 2.37.
- You may choose a preset with an identical resolution or lower resolution. Lower resolution proxies will have a smaller file size and may have better playback on older computers. DEP edit suites and labs should be able to handle realtime playback of any of the proxy presets available.
If you choose a preset with an incorrect aspect ratio, the image in the proxies will be stretched. If you don’t see a preset that matches the aspect ratio needed, or you would like to make proxies in a different codec (all CalArts presets are in ProRes 422 Proxy), see the Making Additional Proxy Presets below.
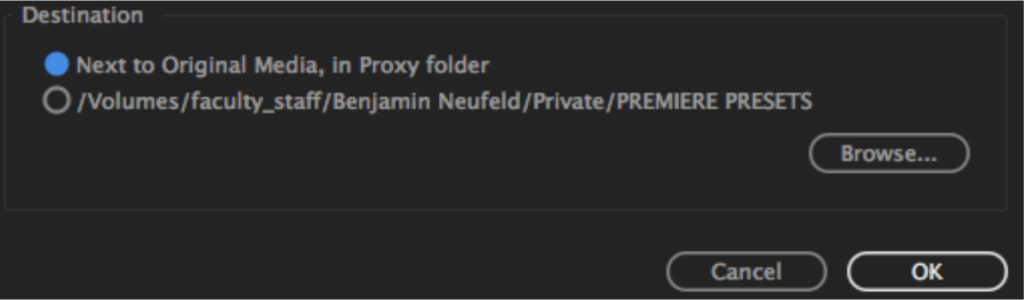
- Choose a destination for your proxies. Either the default destination (next to Original Media) or a specific folder on your hard drive.
- Click Ok. Media Encoder will open and automatically begin creating your proxies.
Editing with Proxies
- Once Media Encoder finishes creating proxy files, you can add a column in your Premiere Pro Project Browser that displays data to check which files have had proxy media created.
If you’re working on DEP computers, the proxy information or controls will already be displayed.
- In the Project Browser, right click on the Metadata columns at the top of the window and click Metadata Display….

- Click arrow next to Premiere Pro Project Metadata to expand it.

- Check the box next to Proxy.
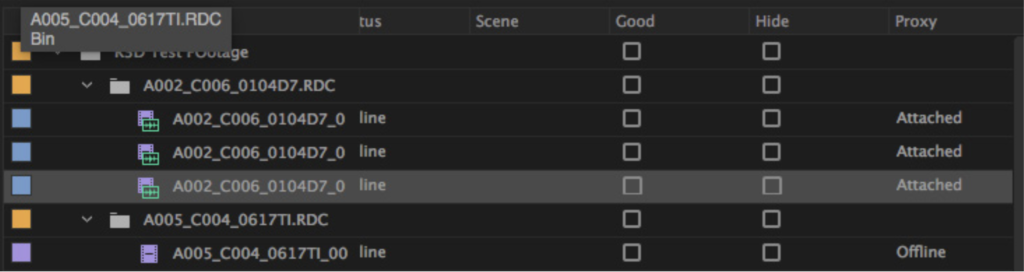
- A new Proxy column will appear in the Project Browser that will say Attached for clips that have proxy media.
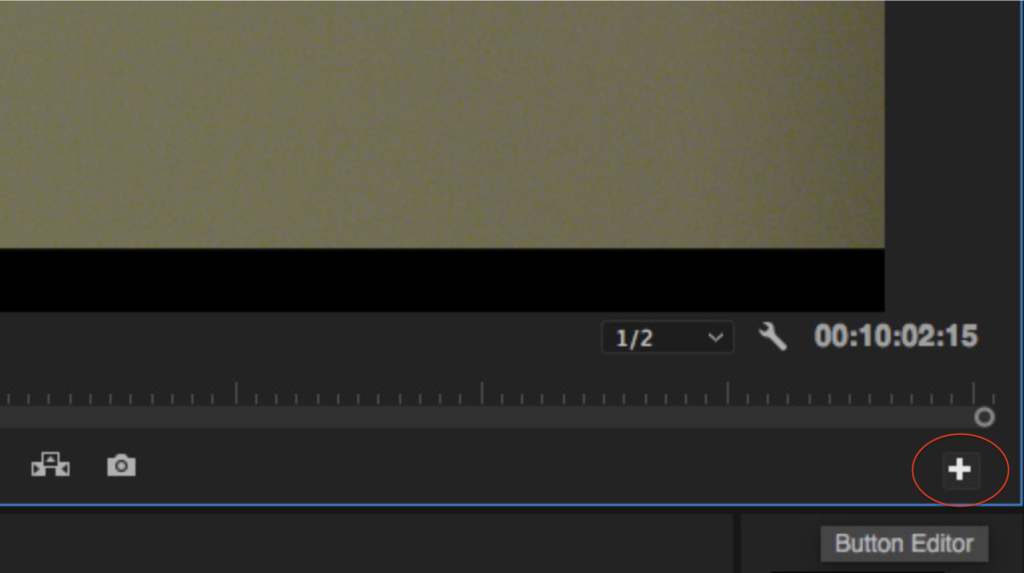
- To begin editing with the proxies, a Toggle proxies button needs to be added to the Program window. Click the + in the bottom right corner of the Program window.
- Click and drag the Toggle Proxies button from the Button Editor to the Button Palette beneath it.
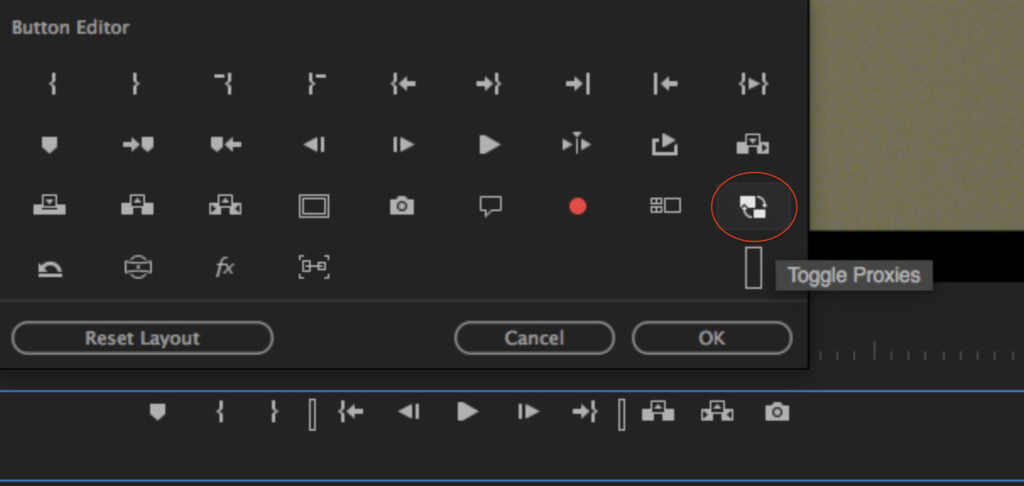
- You can click this button on and off to toggle back and forth at any time between your proxies and your original media. The button will appear blue when you are in Proxy mode and in white when you are working with original media.

- Make sure to toggle back to original media before exporting your sequence.
Making Additional Proxy Presets Using Media Encoder
You can create your own proxy preset if the media’s aspect ratio isn’t included in the CalArts presets, if you would like to make proxies in a different codec or you’re working at home.
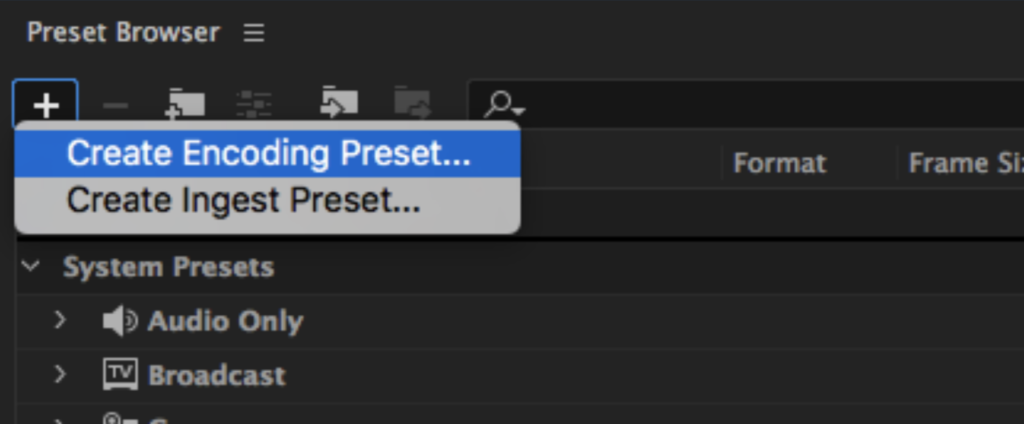
- Open Media Encoder and navigate to the Preset Browser in the lower left corner. Click + to create a new preset and choose Create Encoding Preset….
- In the dialogue box, set your custom options and click Ok.
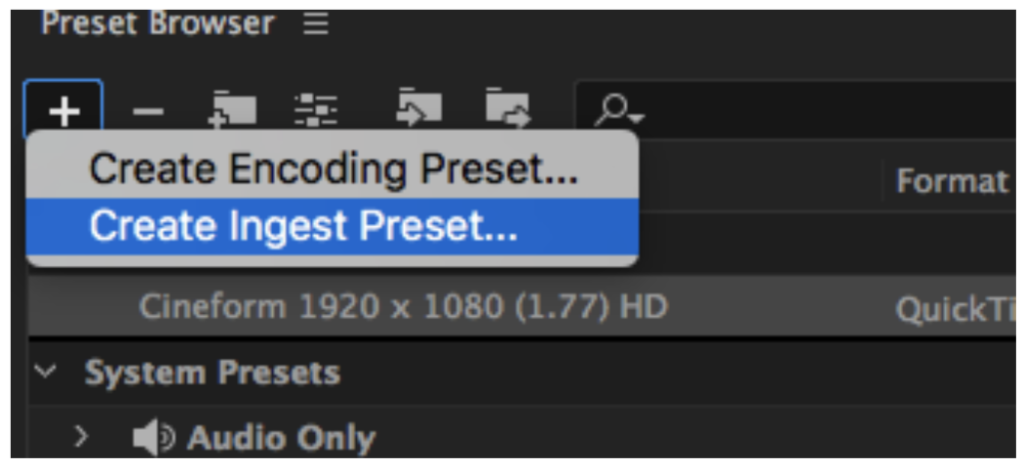
- In the Preset Browser, click + again and choose Create Ingest Preset….
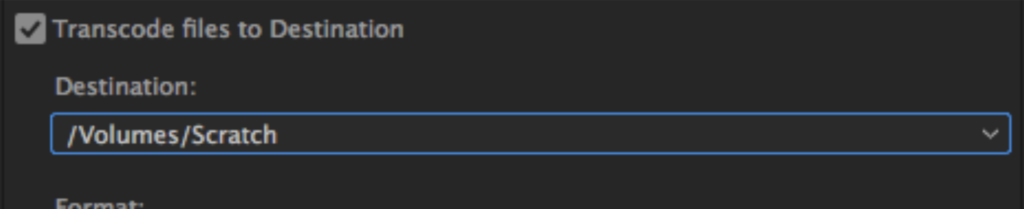
- Name the Ingest preset and check Transcode Files to Destination. Under the Destination dropdown, click Browse for Location and choose a destination for your proxy media. You can change the destination when you choose your Proxy creation settings in Premiere Pro.
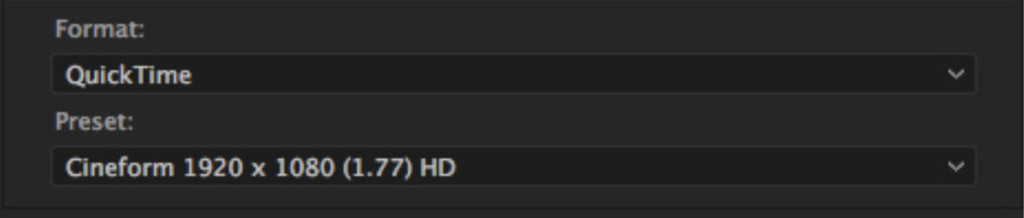
- Under format, choose the appropriate option. Once you have selected the format, choose the custom preset under the Preset dropdown menu. Click Ok.
- The Ingest preset has to be exported from Media Encoder to be imported to Premiere Pro.
- Locate the Ingest preset in Media Encoder’s Preset Browser. It will be labeled as Ingest in the Format column. Right click the Ingest preset and choose Export Preset….
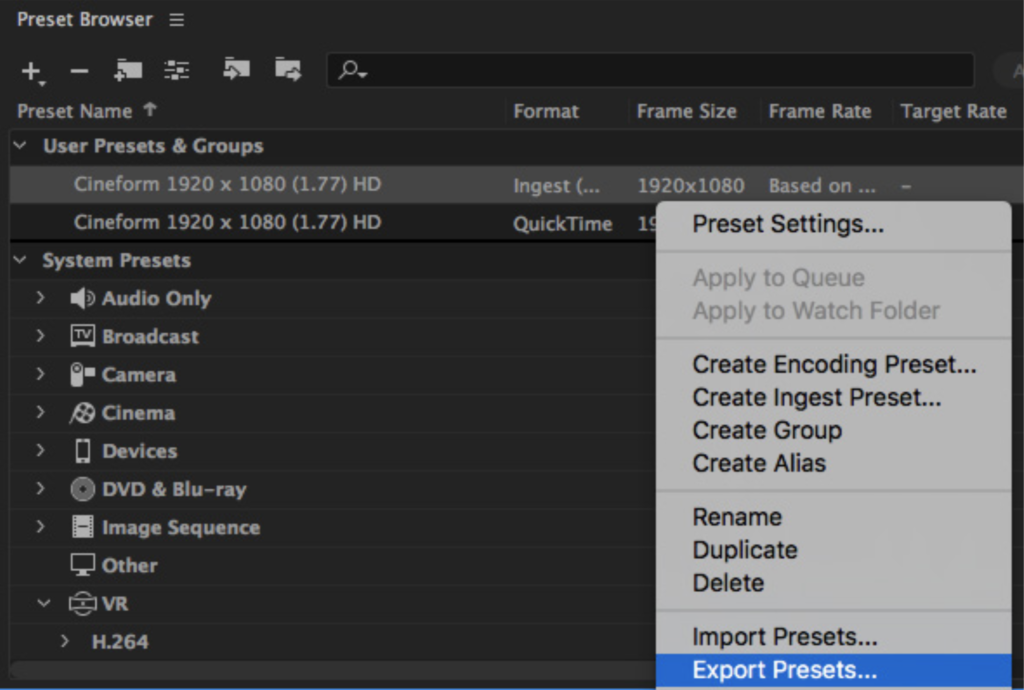
- Select a location for the .epr file and click Save.
- In Premiere Pro, go to File > Project Settings > Ingest Settings….
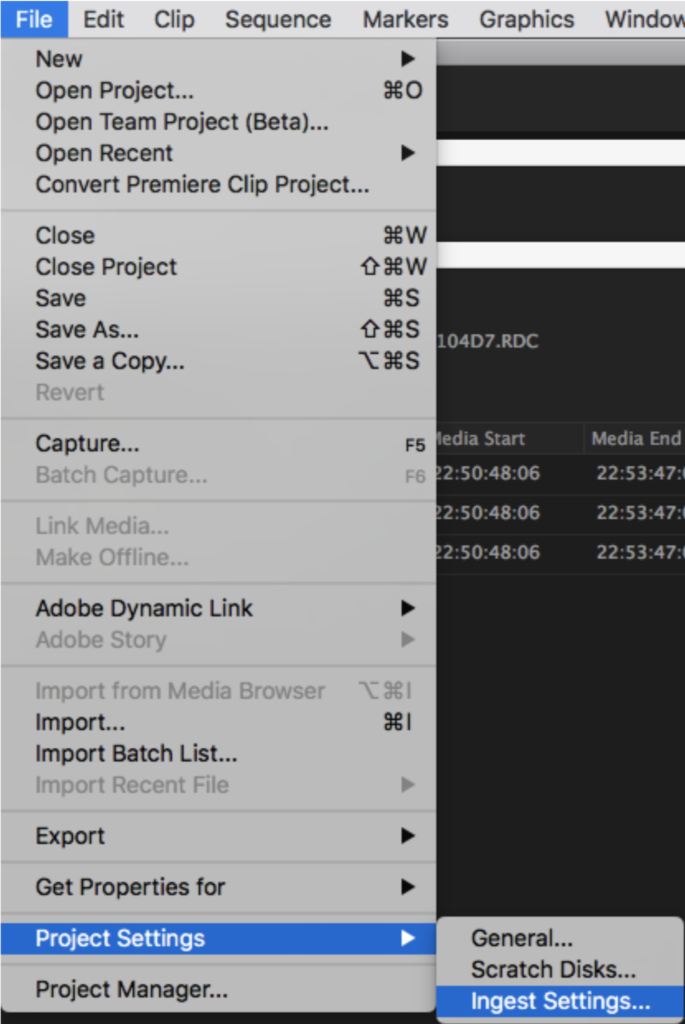
- Make sure Ingest is checked with Create Proxies selected from the dropdown menu and click Add Ingest Preset….

- Navigate to the saved .epr file and click Open. The custom setting will import into Premiere Pro and can be selected under the Preset dropdown menu.
Save your .epr files. When working on the DEP computers, you will need to reimport the custom Ingest preset once every time you log in.
Data Rate Comparison Chart
