Search Knowledge Base by Keyword
Burning a Blu-ray in Toast Titanium or Compressor
After your layback, you can use Toast Titanium to create disc images of Blu-rays both with and without menus. This disc image may then be used to burn multiple Blu-ray discs.
This tech doc will discuss making Blu-ray discs both from the files in the Blu-ray & DVD Assets folder in your layback folder, and also for files which have not been pre-encoded with surround sound (in-progress works & temporary screeners).
Locating the Assets
- Inside of your layback folder, there will be a “Blu-ray & DVD Assets” folder which contains the assets needed to burn a Blu-ray.
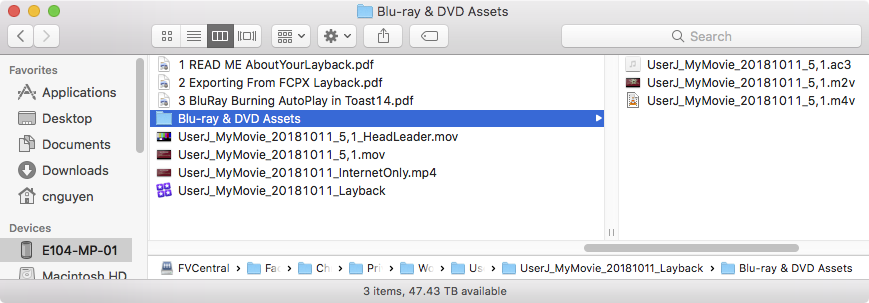
- We will use the .m4v and .ac3 files to make the Blu-ray disc image in Toast Titanium.
- If you are making a Blu-ray disc from media which has not been pre-encoded (a file which has not come through the layback process), locate the video file.
Toast Titanium
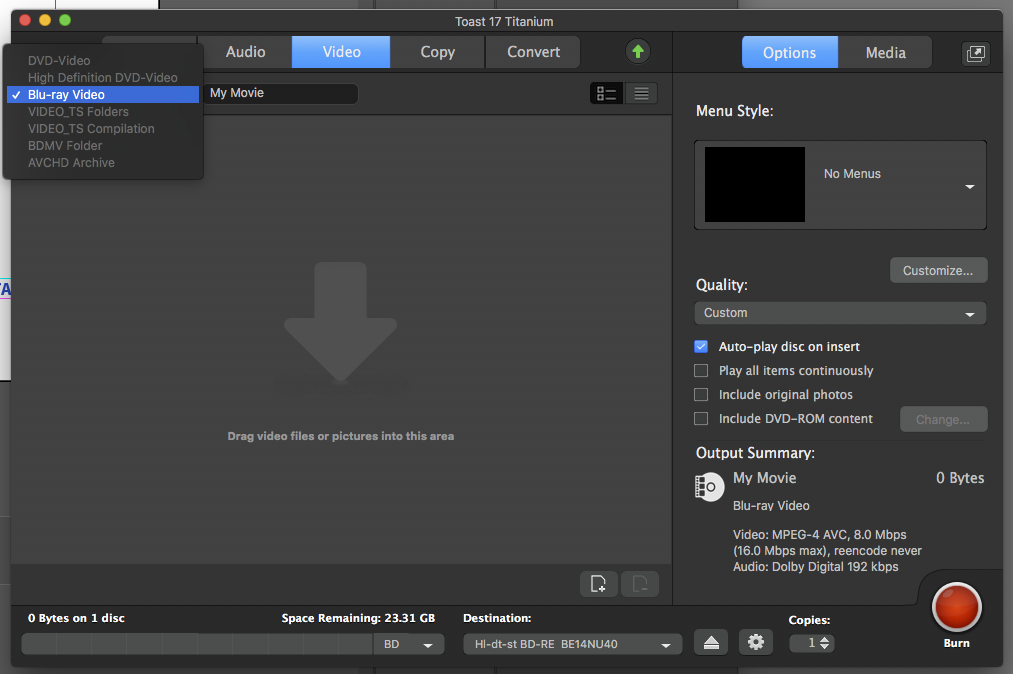
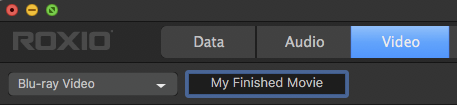
- Launch Toast Titanium. Click on the Video tab and make sure Blu-ray Video is selected.
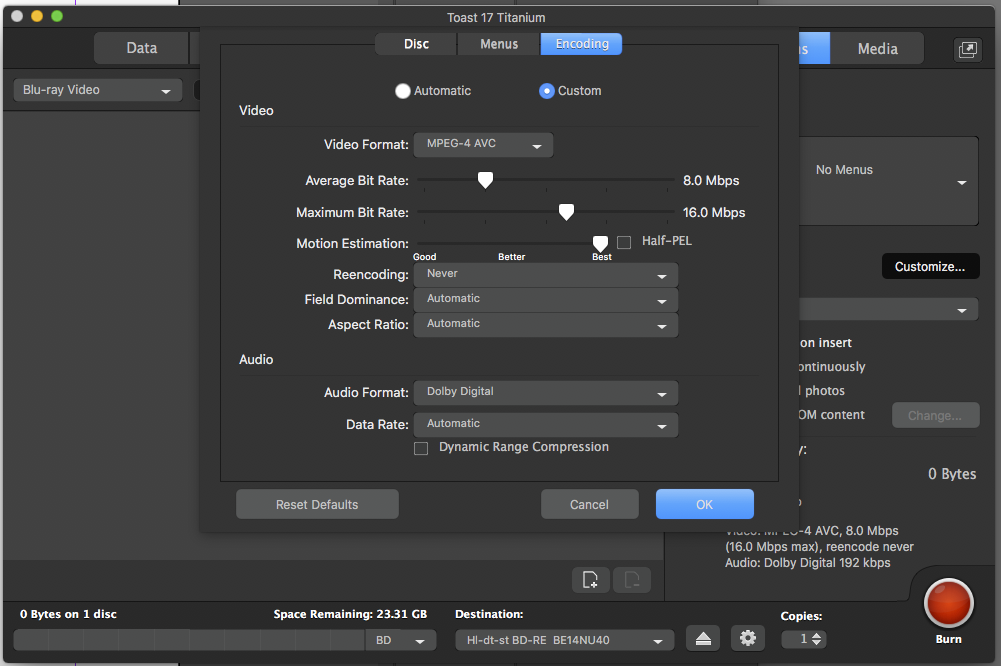
- Click Customize….Under the Encoding tab, click Custom and for Reencoding, select Never. Click OK.
- Drag your .m4v or non-pre-encoded file into Toast Titanium. Be sure the audio is added by checking the description of the video.
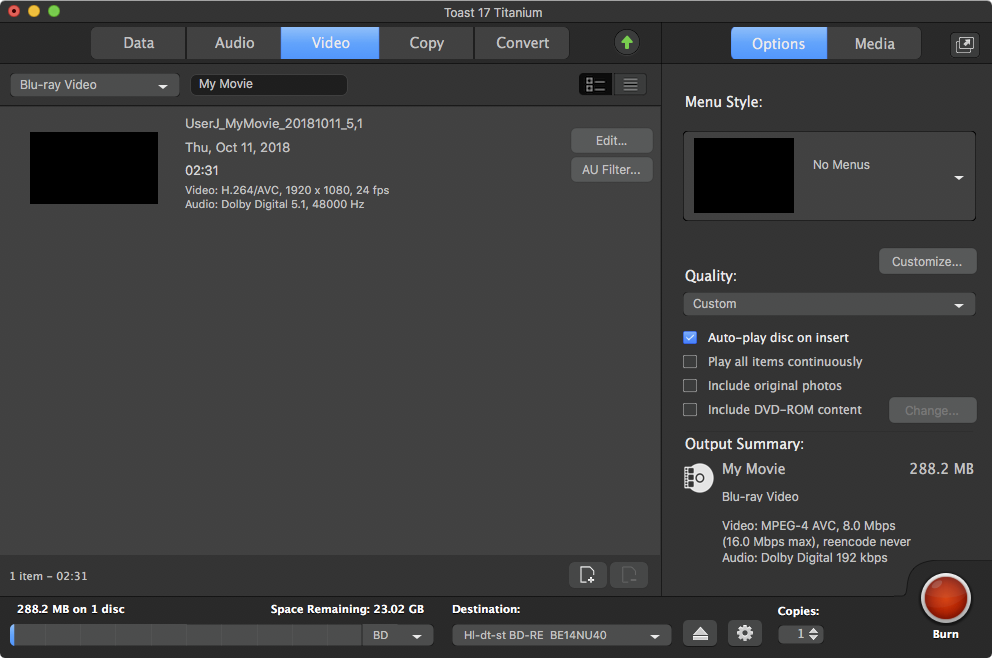
- Toast will by default check Auto-play disc on insert. This will play your movie immediately when you insert the disc, skipping the menu if you have one.
If you would like the Blu-ray to contain multiple clips, you have the option of checking Play all items continuously. With this option checked, your clips will play in succession without returning to the menu, if you have one.
- Name your disc in the top box where it says “My Movie”.
Creating a Menu
- Click the menu box to select a menu, if you need one.
Be aware that discs made in Toast without a menu always loop!
- Click Customize to change the appearance of the preset menu. Here you have many options. Type in a name for the menu (eg. Main Menu) or leave blank to display no name. Choose a menu style. Set Aspect Ratio to Automatic.
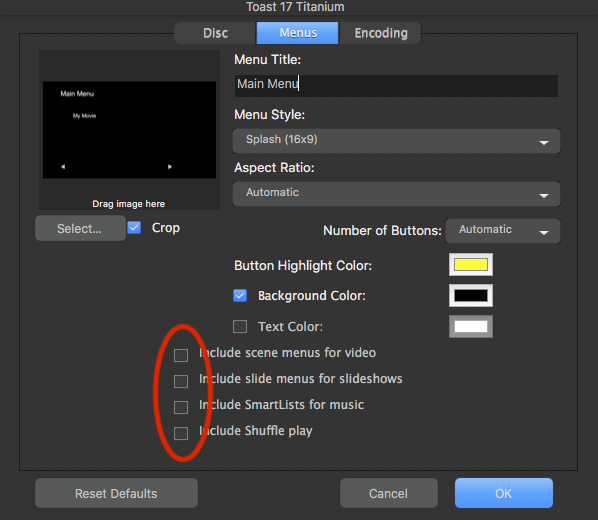
- If you have an image file you would like to use as the background for your menu (eg. a still from your movie), click Select, then locate your image file. If you would prefer a simple solid color (eg. black) menu with text, check Background Color and choose a color by clicking on the color box to the right. Check Text Color if you would like to change the color of the text.
- Leave all 4 options at the bottom unchecked: Include scene menus for video, Include slide menus for slideshows, Include SmartLists for Music, Include Shuffle Play. Click the magnifying glass to enlarge the menu preview window. When done, click OK.
Exporting the Disc Image
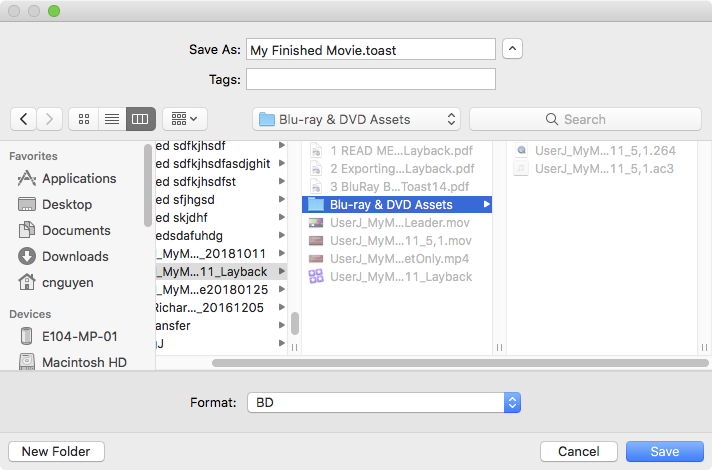
- Go to File > Save as Disc Image (or press command + D).
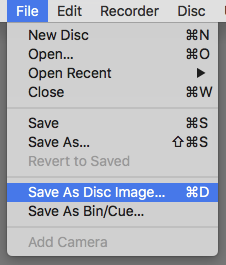
- Select a location for your disc image to save, make sure Format is set to BD, and click Save. Toast will create a disc image with the extension “.toast”.
Testing the Disc Image
- Double click on the disc image to mount the Blu-ray on the desktop.
- Launch VLC. Go to File > Open Disc…

- Under the Disc tab, check if your disc is selected. If it is, click Open. If not, click on Open BDMV folder.
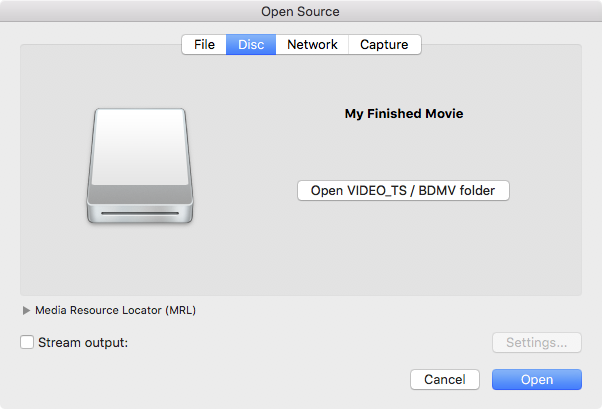
- In the Open BDMV folder dialog box, select your mounted disc image and click Open.

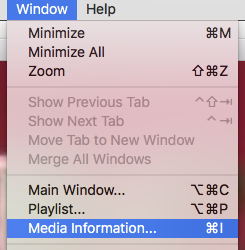
- Your video will then play in VLC. If this disc image was made from your pre-encoded layback files, go to: Window > Media Information…
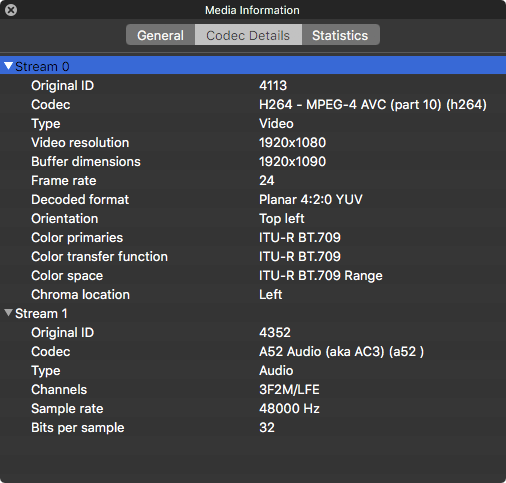
- Under the Codec Details tab, click on the triangles next to each stream and check that the Channels says 3F2R/ LFE to confirm 5.1 audio.
- If all is well, you will use the disc image to burn Blu-ray discs.
Burning a Blu-ray in Toast Titanium
- Launch Toast Titanium. Click on Copy tab. In the left hand corner, select Image File from the drop down menu.
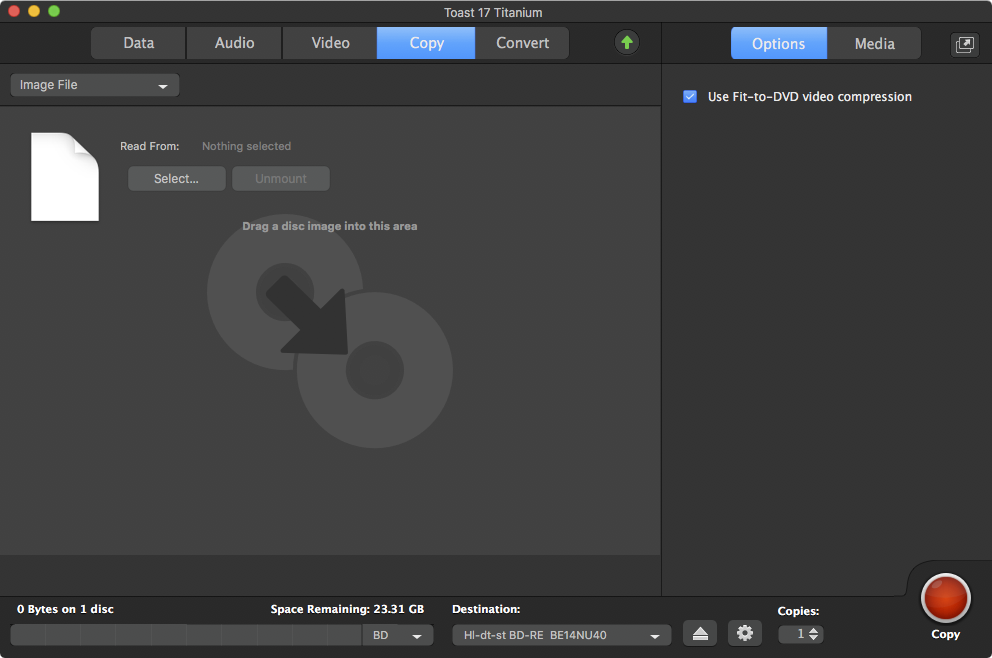
- Click Select under Read From and find your disc image in the dialog box and click Open.
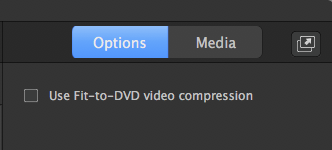
- Under the Options tab on the right side, make sure Use-fit-to-DVD video compression is unchecked.
- Insert a blank Blu-ray disc. Click the Copy button.
- Toast will burn your disc and eject it when finished. Repeat as necessary.
Check that every Blu-ray disc plays correctly in a Blu-ray player before screening or sending it to its destination.
Making Blu-rays with Compressor from Non-pre-encoded Files
- Launch Compressor. Go to File > Add File… or click the Add File icon in the middle of the bottom window (or press command + I).
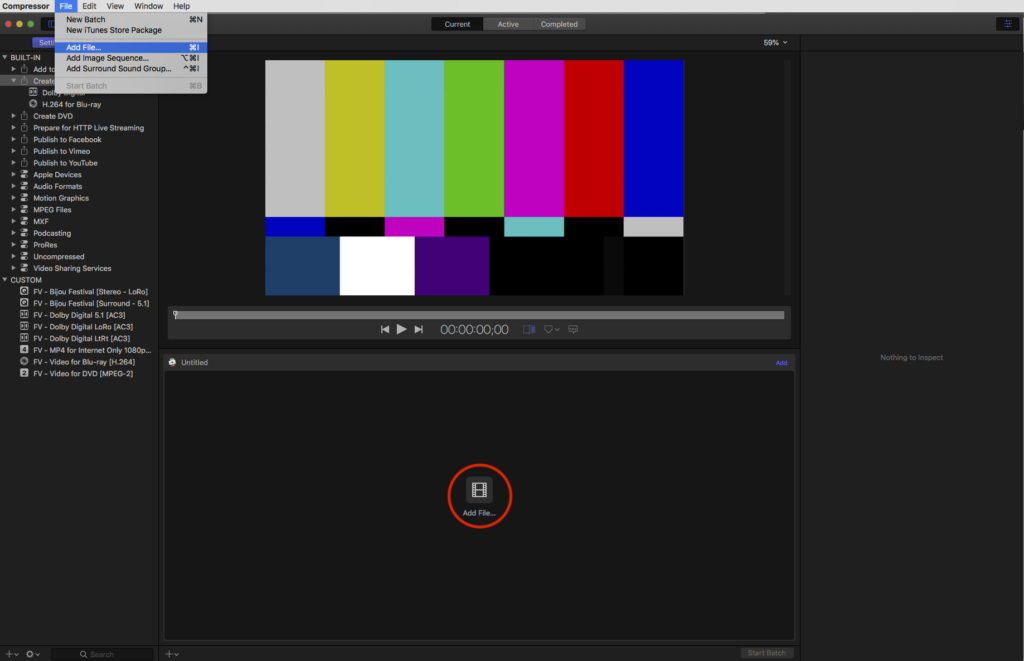
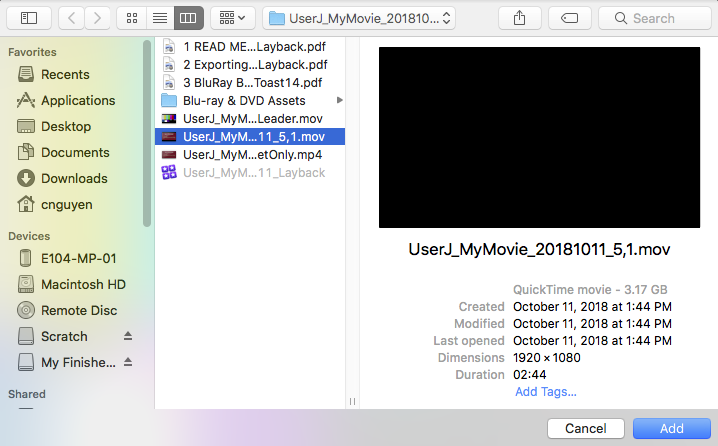
- Locate the video file you want to burn to a Blu-ray disc. Click Add.
- In the select settings panel, select Create Blu-ray under BUILT-IN. Drag and drop the setting on to your file. If you click the triangle drop down button, you will see that the Create Blu-ray setting creates two files: a Dolby Digital ac3 file (sound) and an H.264 file compressed for Blu-ray (picture). Set an output location for these assets, if other than the source folder of the original file.

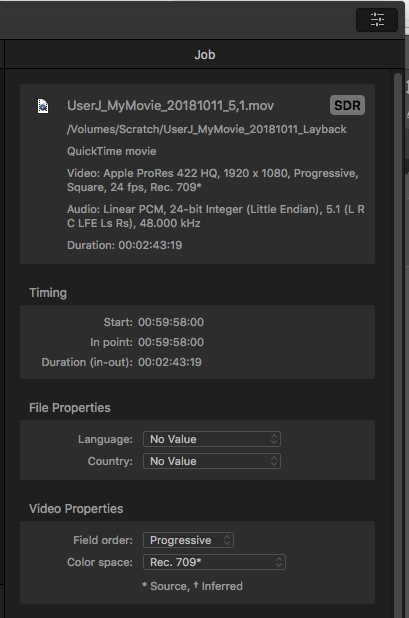
- Check that the details under the Job column on the right side of the screen match your source video. Make sure in Audio Properties that Audio Tracks is checked.

- At the bottom, under Action, When done should be set to Create Blu-ray Disc. Output device can either be set to the optical drive name (resulting in a burned Blu-ray disc) or Hard Drive (resulting in a .iso disc image). Title your disc in Title. When disc loads can either be set to Show Menu or Play Movie. If you want your disc to loop, check Include Loop Movie button.
There is no preset way to create a Blu-ray dic in Compressor without a menu. When the disc ends, it will return to the menu.
- The default menu is simple white text on a black background. If you have created a Background, Logo, or Title Image, click Add… to include it.
- When you have finished with the settings in the Job window, click Start Batch.
- Your file will then be moved to the Active tab of Compressor for processing (if you chose to export to Hard Drive, it will be moved to Completed once the progress bar finishes).

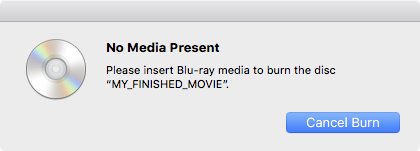
- Once the assets have been created, you will be asked to insert a disc for burning (if you have not already done so). Upon insert, Compressor will begin burning your Blu-ray disc.
- When the disc burning is finished, the disc will eject and your Compressor task will more to the Completed tab. Be sure to write a name on the disc and test it on at least two systems.