
Andor 1 Quick Start Guide
The Andor 1 media player can seamlessly loop playback of files and can sync wirelessly with other Andor 1 media players.
Preparing a USB Drive
There is a USB drive included in each Andor 1 media player kit. The USB drive should be formatted as MS-DOS (FAT). The recommended video format is an H.264 codec with MP4 container. The files can be up to 1080p @ 60fps and up to 40 Mbps and must be located on the root of level of the USB drive.
- Make sure the drive is formatted as MS-DOS (FAT). If it isn’t MS-DOS (FAT), format the drive using Disk Utility. Delete any files that are already on the drive.
- Copy your video files to the root level of the drive. Do not use any folders on the USB drive; the Andor 1 will not read any files inside of folders.
- If using multiple Andor 1 media players, prepare additional USB drives with files you’d like to play on each media player.
Quick Start
- Connect the Andor 1 to power using the micro-USB port, then connect via HDMI to the monitor / projector, and then insert the USB drive to the Andor 1.
- The player will automatically play the first video on the USB stick.
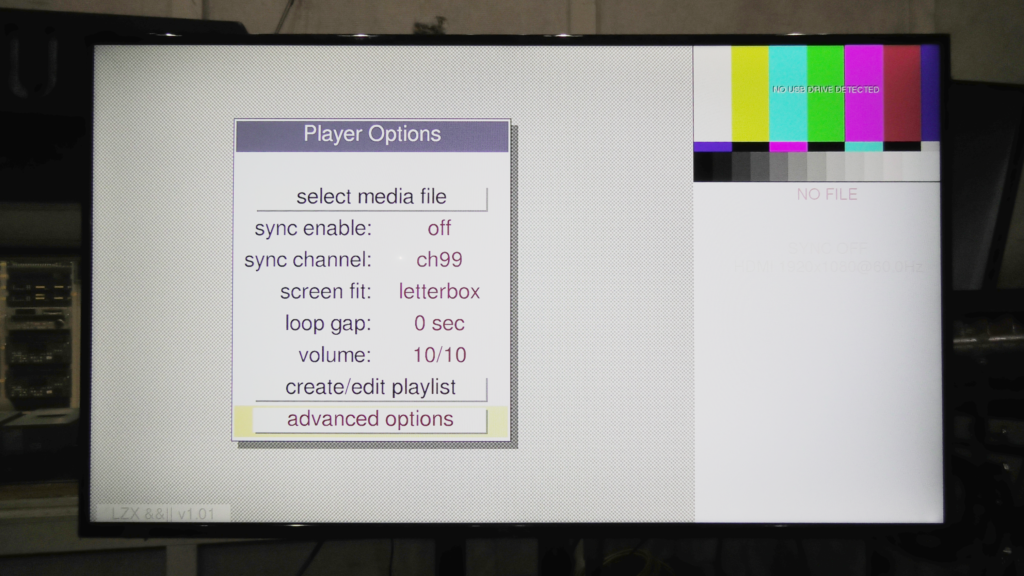
- To select a different video, plug in the keyboard to a USB port and press Esc to open the menu. Use the arrow keys to navigate and change settings, and press Enter to select. When the menu is closed, the arrow keys jump forward or back and Enter pauses the video.
Looping Videos
The Andor 1s will automatically loop your playlist.
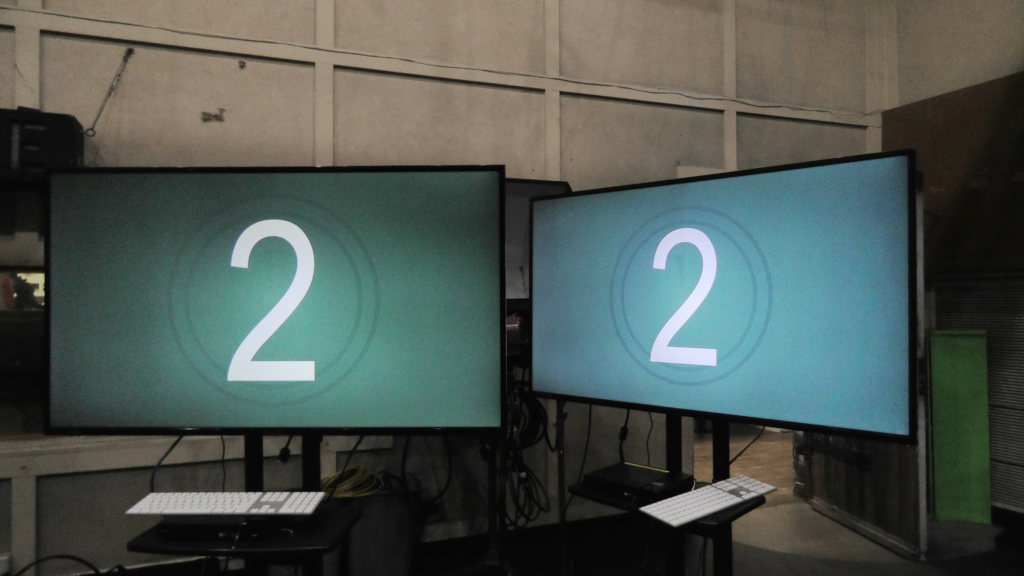
Syncing Andor 1 Media Players
When syncing multiple Andor 1s, you will have to reset the settings and sync before connecting the USB drives. If synchronized videos are of different lengths, the shorter videos will be padded with blank video at the end to make them the same length as the longest video on the channel.
Follow the steps below to sync the Andor 1 media players:
- Connect all of the Andor 1 media players to power, then connect via HDMI to a monitor / projector. Do not plug in the USB drives yet.
- On one of the Andor 1 media players, connect a keyboard and access the menu by pressing the Esc key.
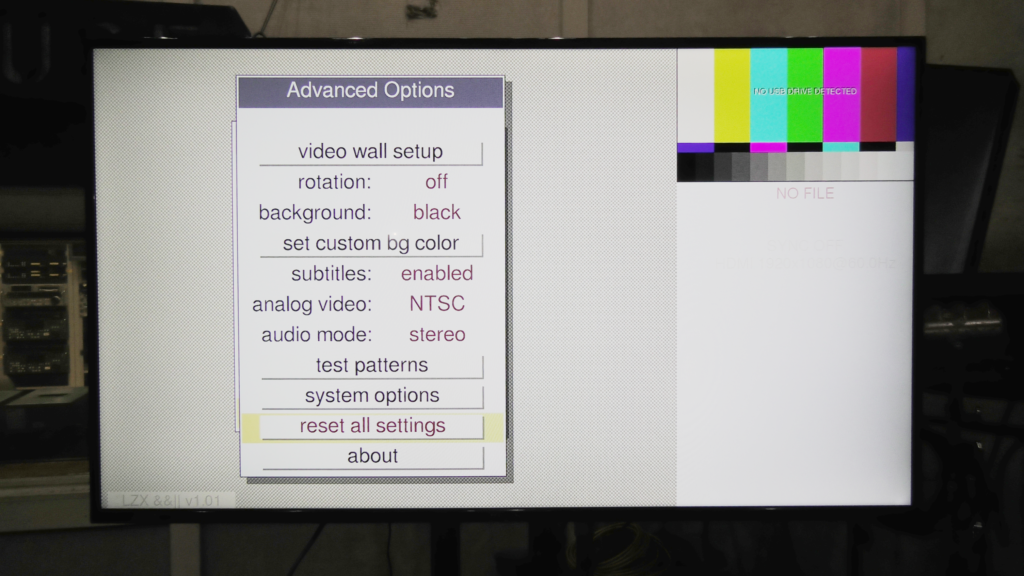
- Use the arrow keys to navigate to advanced options and press Enter.
- Navigate to reset all settings and press Enter.
- Repeat steps 2 – 4 on all media players you’re using.
- Now you’re ready to set the sync channels. Go to the main menu page and navigate the sync channel. Use the left and right arrow buttons to change it to the desired sync channel. The default is channel 99, but it is not recommended to use it. Navigate to sync enable and switch it to on.
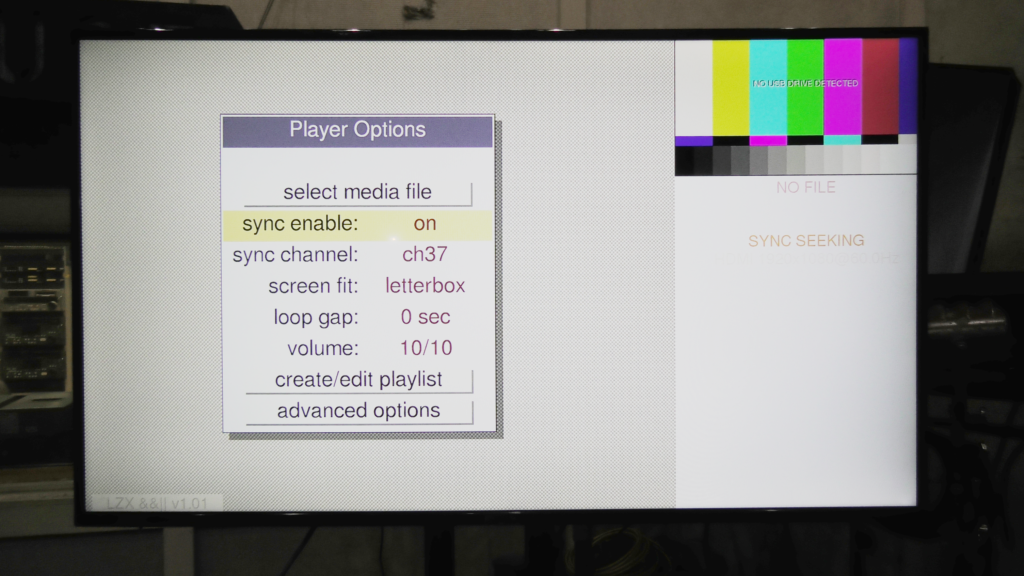
- Repeat step 6 on all the media players you’re using. Make sure to set the same sync channel on all of the media players.
- The sync status on all of the monitors should now say Sync Seeking. Wait till it changes to Sync Locked.
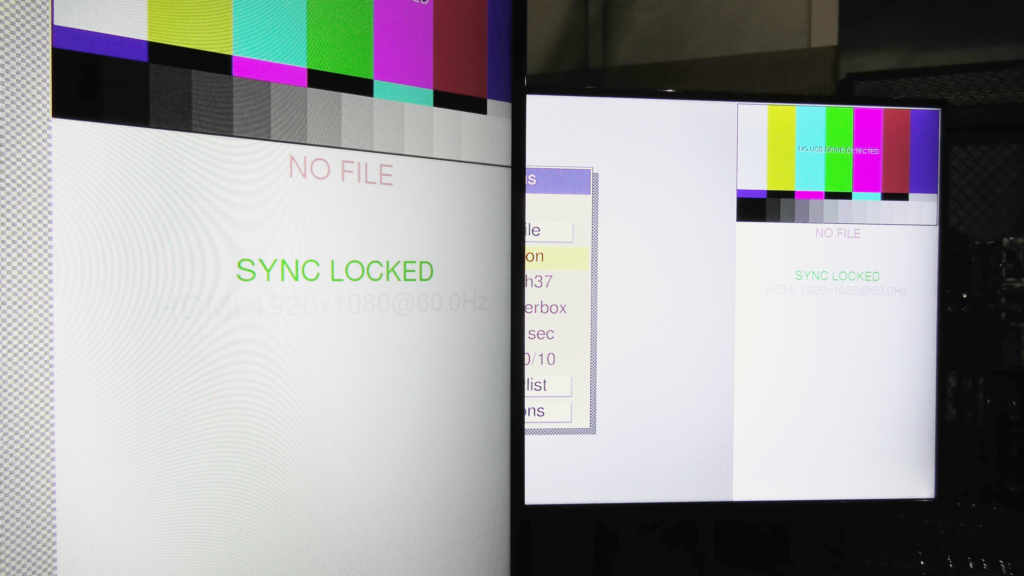
- Connect the USB drives to each Andor 1. This will throw the players out of sync. Wait for the sync status to return back to Sync Locked. This may take a minute.
- Once synced, press Esc to exit out of the menu on all of the players.
- Test sync by pressing Enter on only one keyboard. If the players are synced properly, all of the players should pause.
- Press Enter again to resume playback on all players.
- Press 1 on the keyboard (not on the number pad) to restart all of the players to the beginning of the playlist. Give it some time to restart playback; it may take a couple of tries.
- And you’re done! Your videos are playing back in sync.