DaVinci Resolve Project Manager
The Project Manager in DaVinci Resolve 20+ is the central hub where you can create, open, organize, back up, export, and manage all of your projects. Unlike many other video editors, Resolve does not treat projects as individual files stored in your operating system’s file browser. Instead, projects live inside a Project Library, which is accessed and managed through the Project Manager.
Opening the Project Manager
The Project Manager opens automatically each time you launch DaVinci Resolve.
If you’re already inside Resolve, you can reopen it at any time by clicking the Home icon in the lower-right corner of the interface or by selecting File > Project Manager.
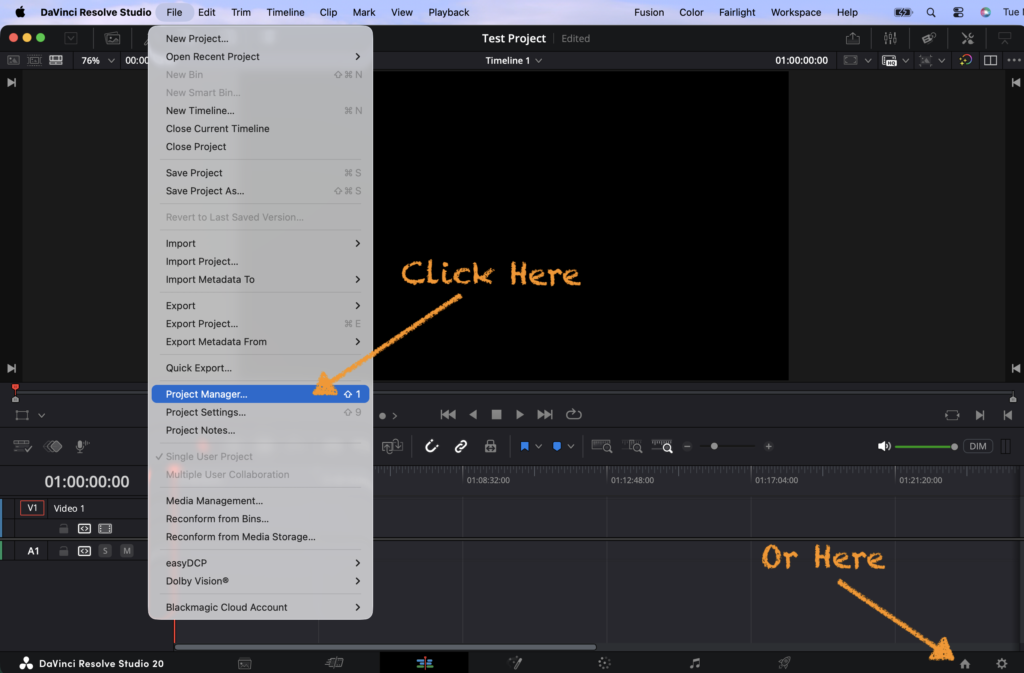

When you click Project Manager, DaVinci automatically opens the last library you used.
DaVinci Resolve stores projects inside project libraries (formerly called databases). Projects do not appear as standalone files in your file system unless you export them as a .drp file.
Please note that on shared FV computers, your project is automatically stored locally to the computer you are using, on the Scratch Drive. If you know you will be working across multiple computers/workstations, it is recommended that you set up a DaVinci Resolve Library on an external hard drive as described HERE.
DaVinci Project Organization
Create Projects
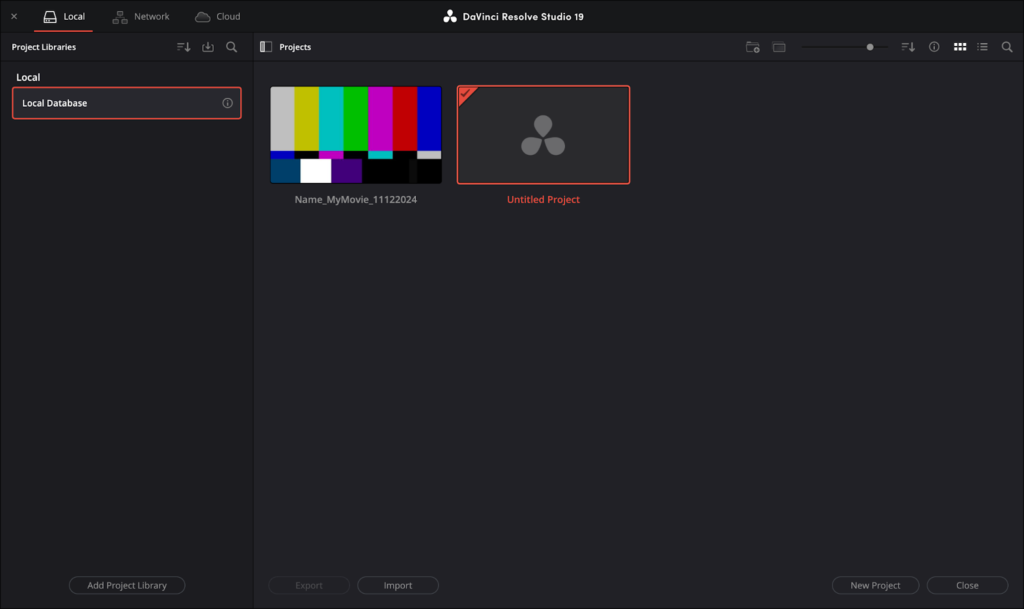
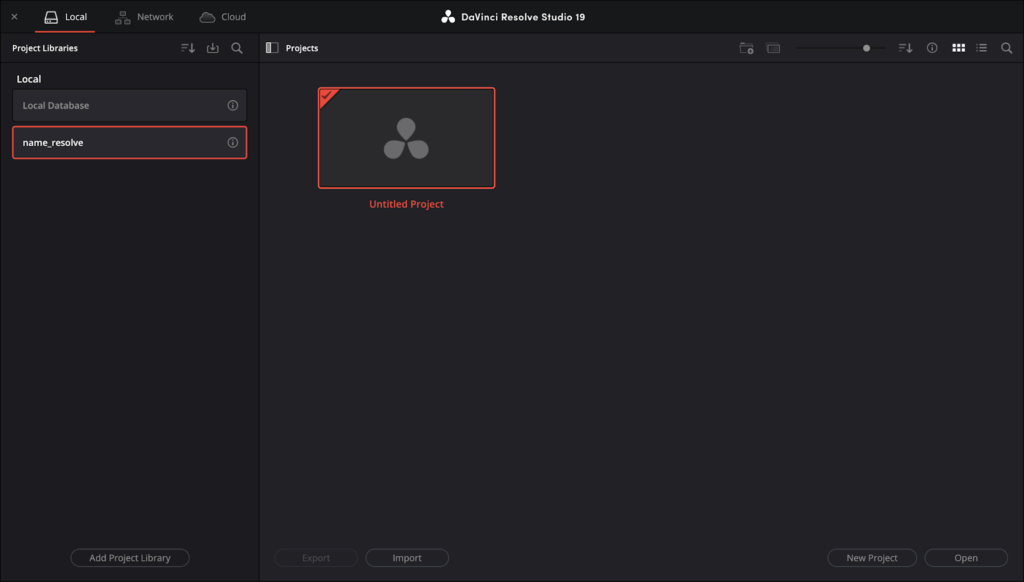
In the Project Manager, you can choose the project you would like to continue working on. Additionally, Resolve displays a new Untitled Project by default. If you have no projects in your library yet, it will only display the Untitled Project.
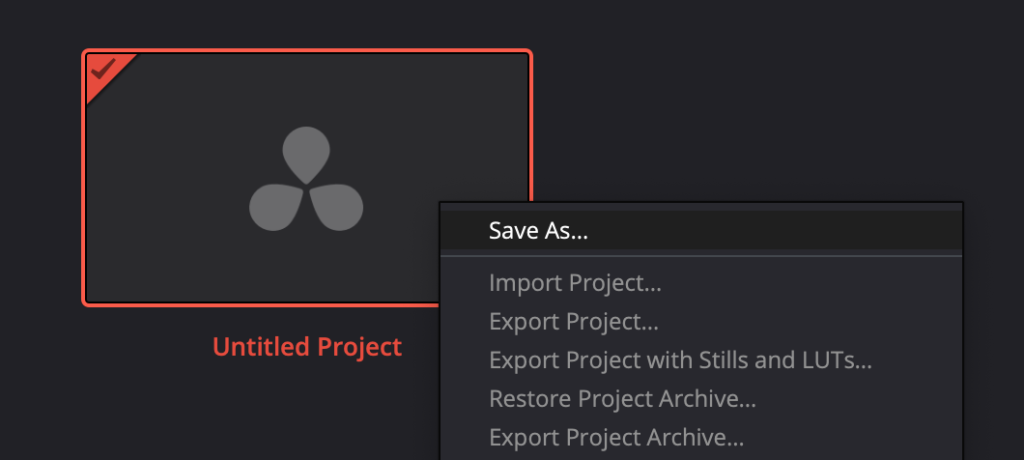
To make a new project, you can click New Project on the bottom-right or right click on the new Untitled Project and click Save As to rename it.

Don’t forget to set the path for media storage and update your Master Project Settings as discussed in the article, How to Set Up a DaVinci Resolve Library
Open Projects
Double-click a project thumbnail to open it, or select a project and press Open.
You can also Right-click a project and choose Open in Read-Only Mode to inspect a project without risk of altering it.

View Projects
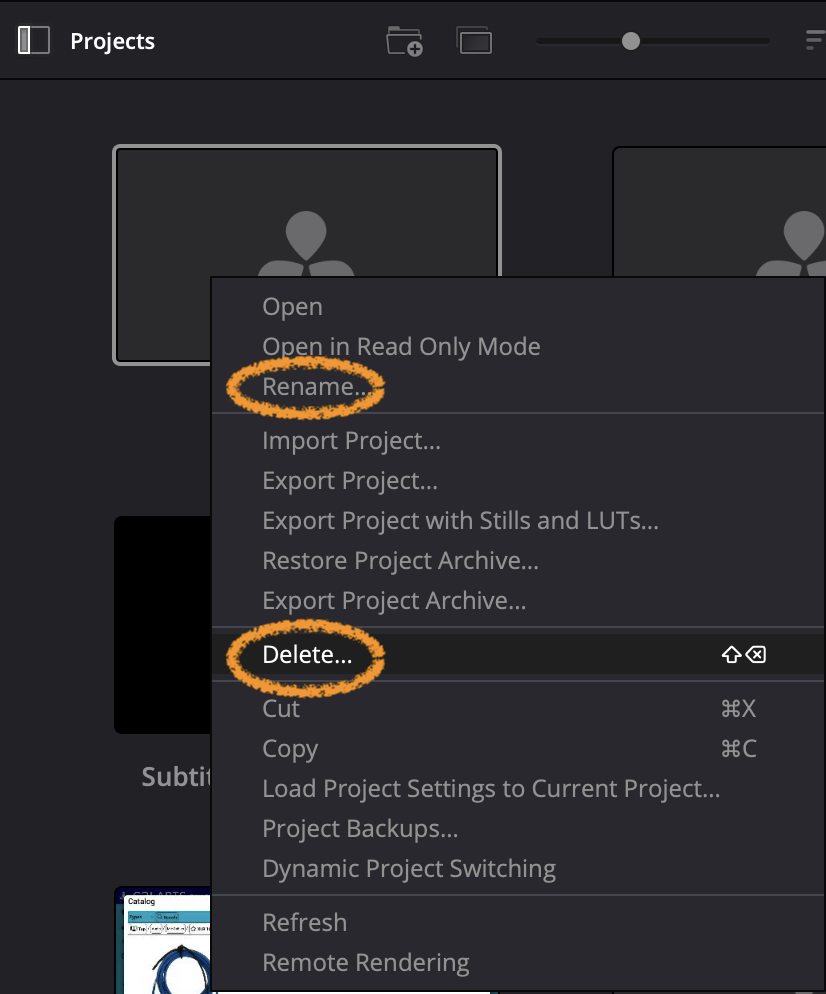
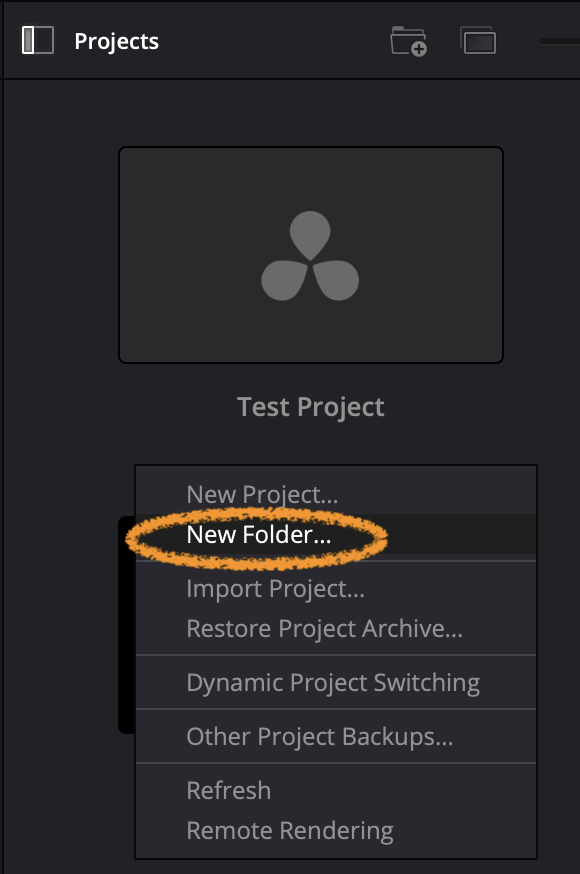
To organize your projects, you can rename and delete your projects by right-clicking on a project. Additionally, by right-clicking in your Project Library, you can create folders to group projects together.
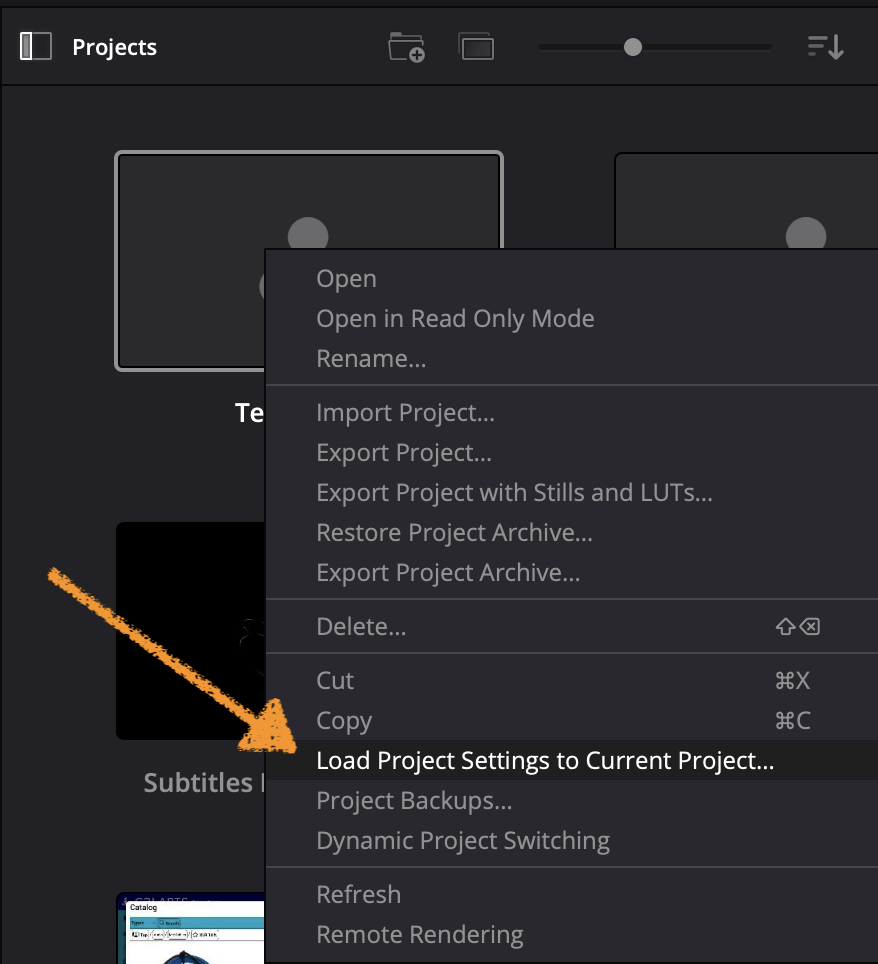
You can also load a configuration from another project to the currently open project by right-clicking a project and selecting Load Project Settings to Current Project…
You can switch to List View by clicking the icon on the top right corner. List View will show you more information about your projects.

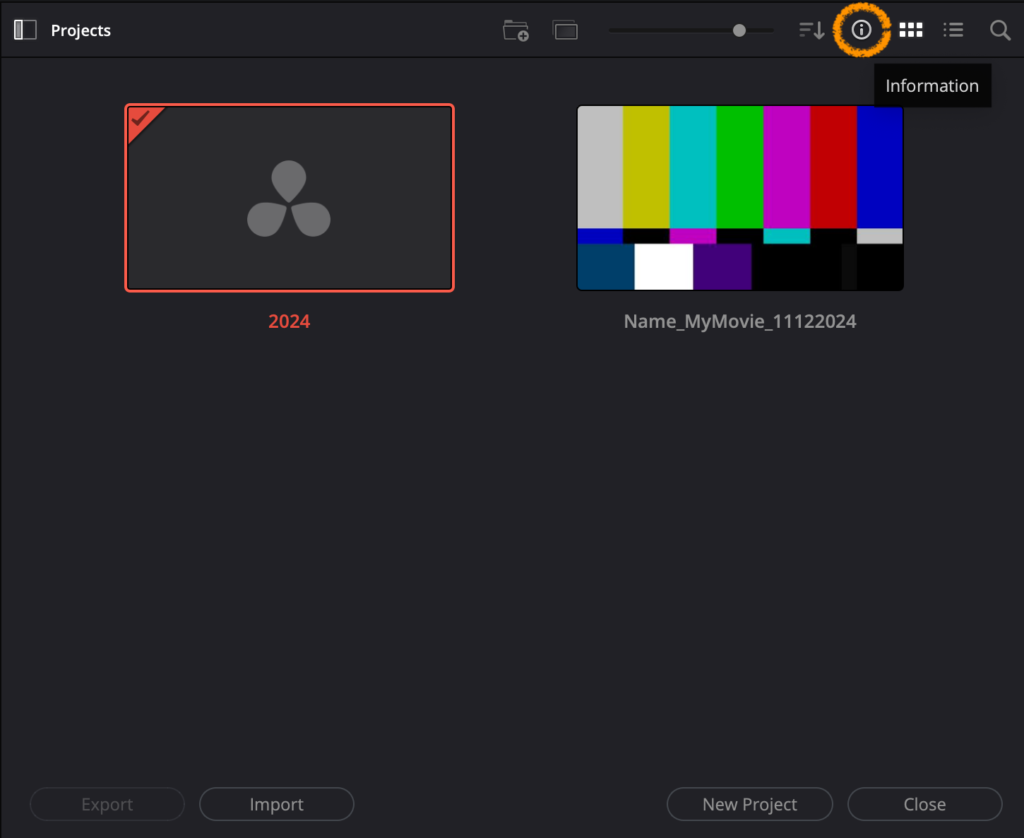
Or, when in Thumbnail View, you can show more detailed information by clicking the circled i icon in the top right corner.
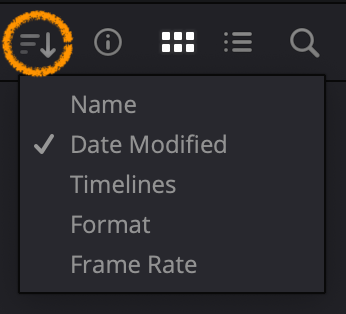
You can also change the sort order of your project list.
If you have saved a large amount of projects in one library, you can click the magnifying glass icon to Search for one of your projects.

Exporting and Importing Projects
If you have multiple libraries on your drive, or if you need to move projects to a different computer or drive you might want to import or export projects across those libraries. Note that this function only exports your project file. Your media remains in its original location on your drive.
Export Projects
1. Export a project by right clicking on it and selecting Export in the drop down menu.
Optionally, you can export your project including all Stills and LUTs you have created within it. Choose the next option Export with Stills and LUTs from the drop down menu.

2. Navigate to the location where you wish to save your file.
3. Then click Save.
Import Projects
1. Import a project from another library by clicking in the empty area in your Project Manager, choose Import and find your project file.
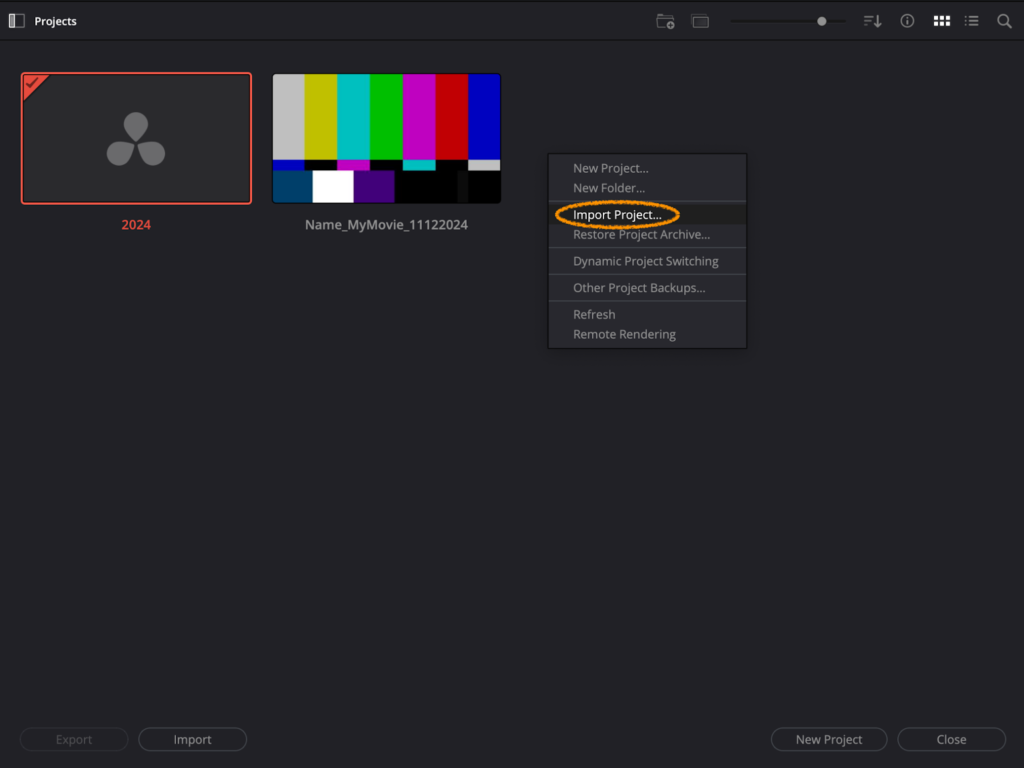
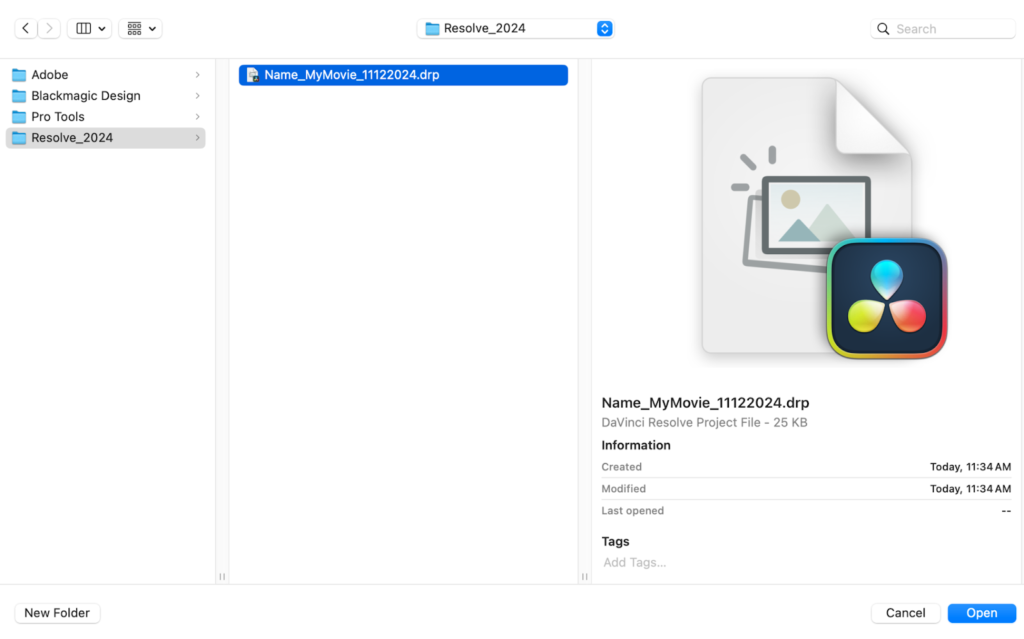
2. Navigate to the location on your drive. You are looking for a file with a .drp ending.
Relinking Media
By importing a project (.drp file) to a new library, you might have changed all the file paths of your media. Depending on your media storage settings, your file might not be linked to its source media any longer. In this case, or if you changed the media paths in other ways, such as changing the location of your media files by moving them around, you need to relink your media files.
1. Open your project from the Project Manager by double clicking it.
2. In the Media Pool of the Resolve interface: select all media files which need to be relinked, right click, go to Clip Operations, and select Relink Selected Clips…

3. Navigate to the location where your media files are stored, click OK.
If you don’t know their exact location, you can select a top directory. But keep in mind that DaVinci will search the entire directory, and it could take a long time to go through every single sub-directory in search for your files. Hit OK.
Archiving and Restoring Projects
Archiving a project duplicates all media associated with the project file. You create a self-contained archive bundle, including all media and the project file itself. This is useful to either transfer your project to another drive or user, or for any archiving purposes. This process is comparable to media consolidation in other non-linear editing software.
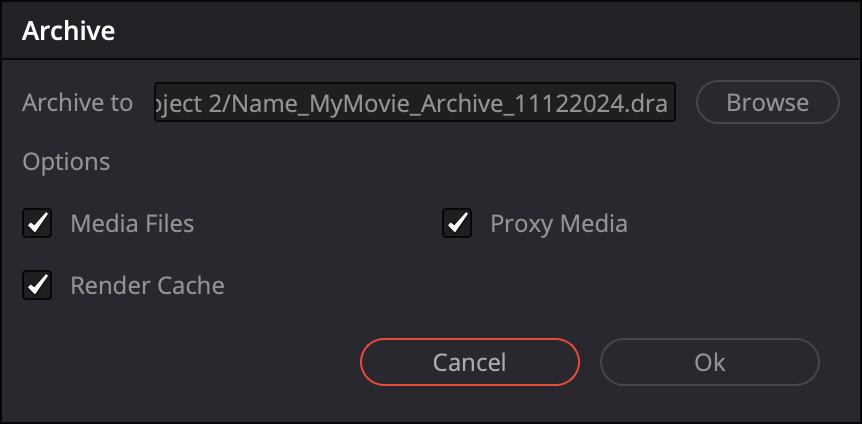
A .dra archive can include:
- The .drp project file,
- Gallery stills and LUTs,
- Media files (if selected),
- Render cache files,
- Proxies (if selected).
A .dra file is ideal for transporting a self-contained project between systems, meaning you will not need to re-link media.
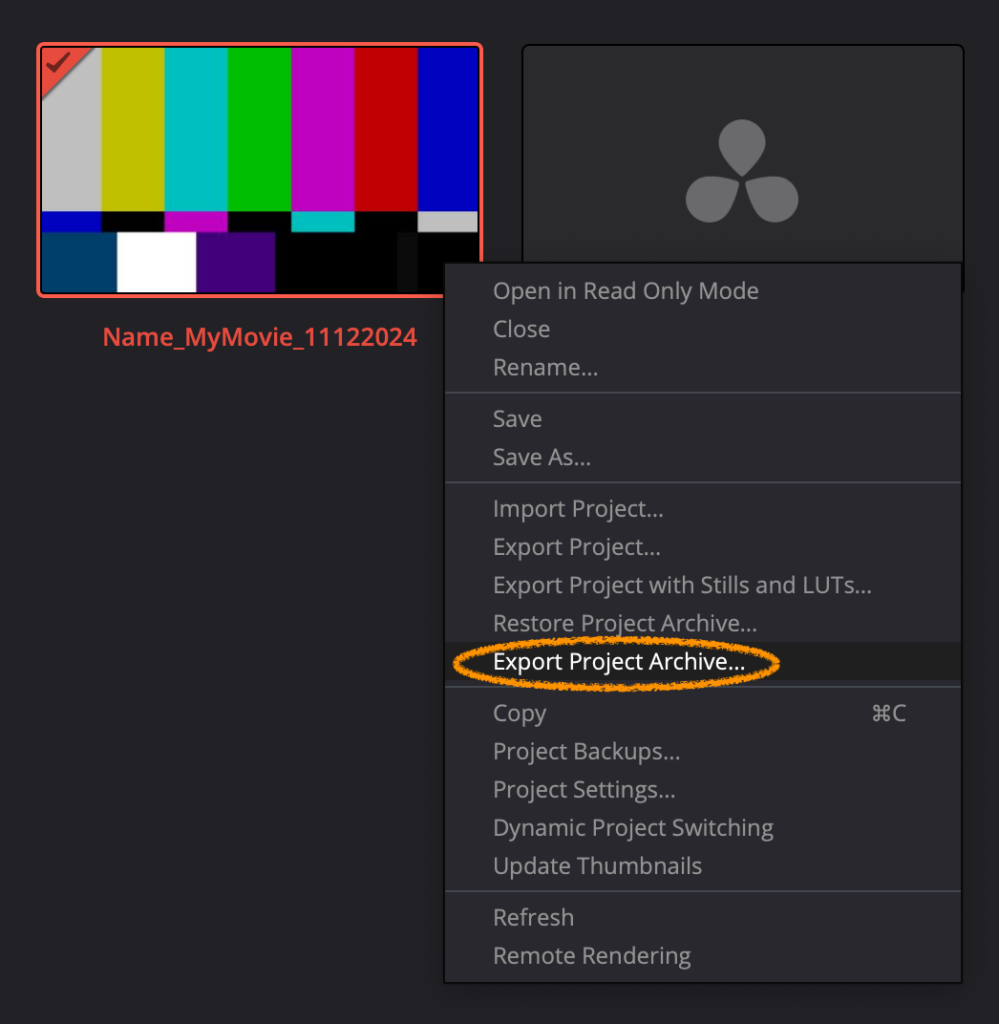
Export Project Archive
1. Right click on the project you wish to archive, select Export Project Archive.
2. Select the location to save your archive, click Save.
3. Hit OK in the pop up window.
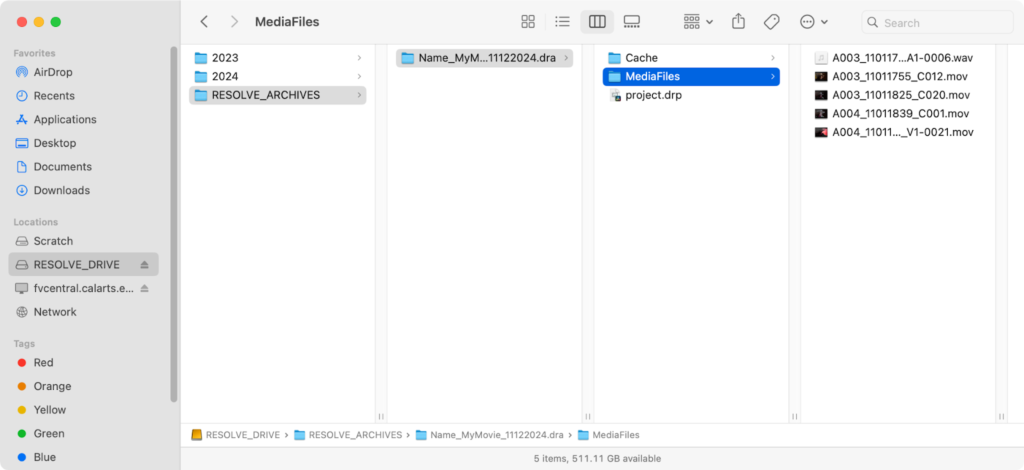
Resolve creates a folder with the extension .dra.
Resolve copies your media files while preserving the original folder structure.
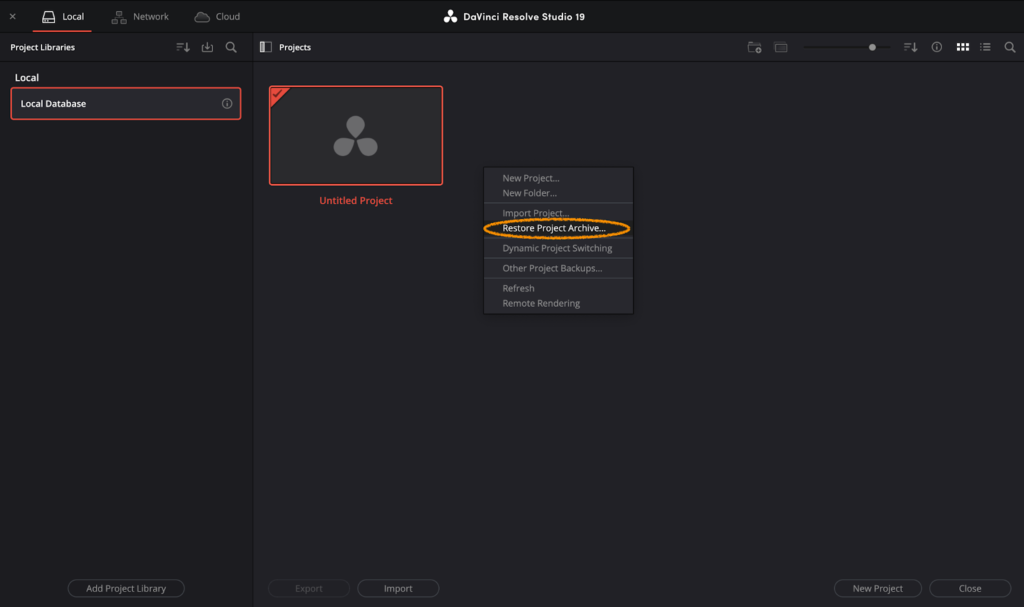
Restore Project Archive
1. If you wish to restore a project from a previously created .dra archive, simply right click in any area of the Project Manager window and choose Restore Project Archive.
2. Navigate to the location and highlight the folder, click Open.
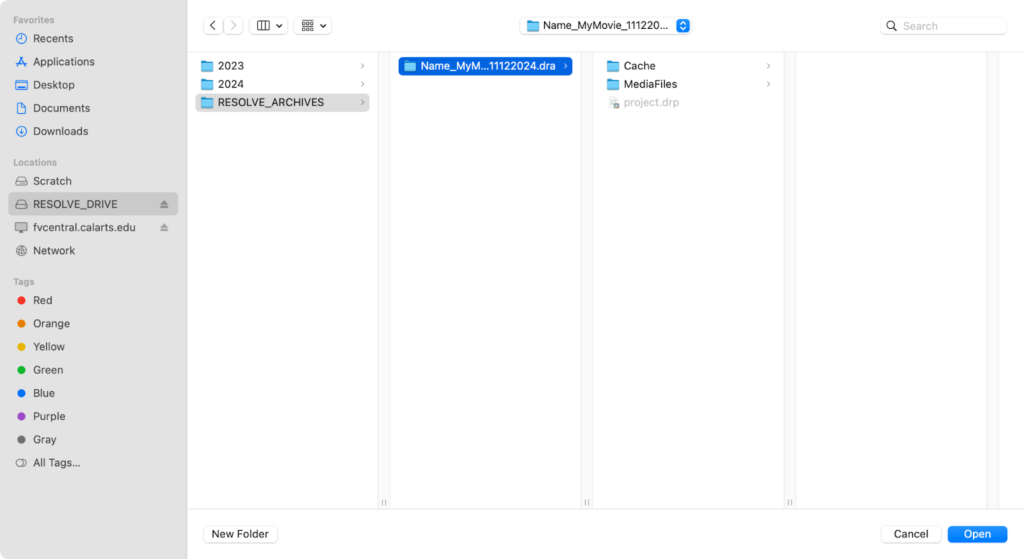
3. The restored project shows up in the Project Manager.