
Computing Kit Quick Start Guide
First-Time Setup
Before beginning, please make sure you create an Apple ID using your CalArts email address. You can create an Apple ID at https://appleid.apple.com.
The first time you power on your computer, you’ll be guided through some initial steps. There are a few things to look out for.
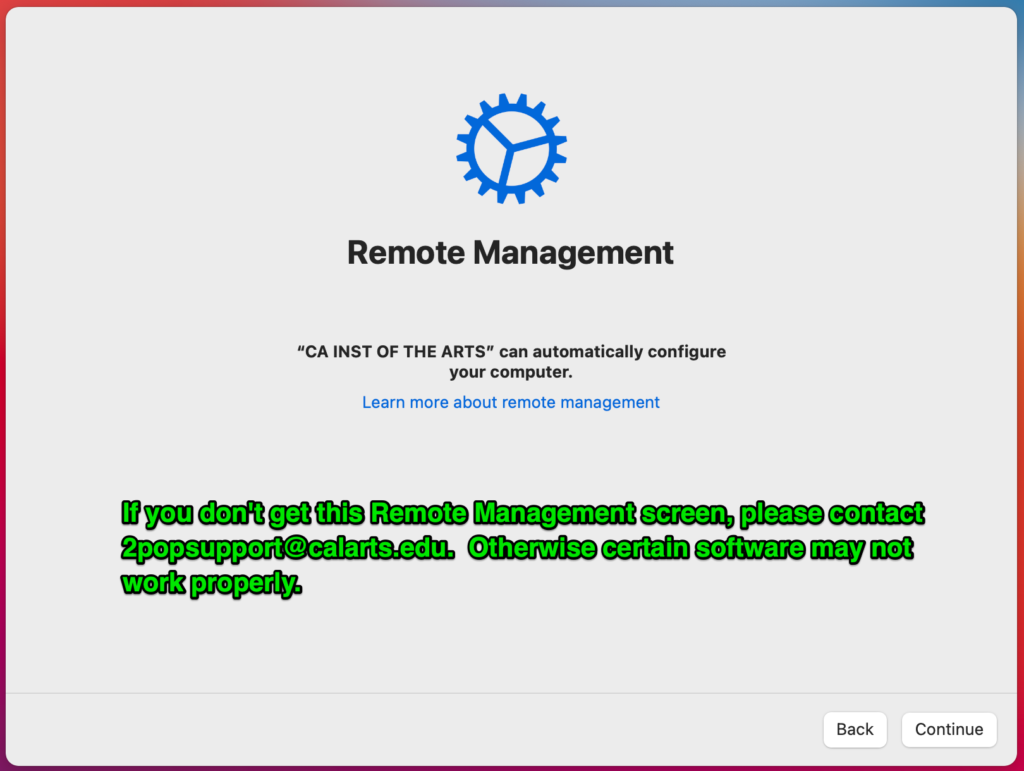
One of the first screens you should run across is Remote Management. This is important for certain software licenses to work properly, so if you do not see this screen, please submit a ticket.
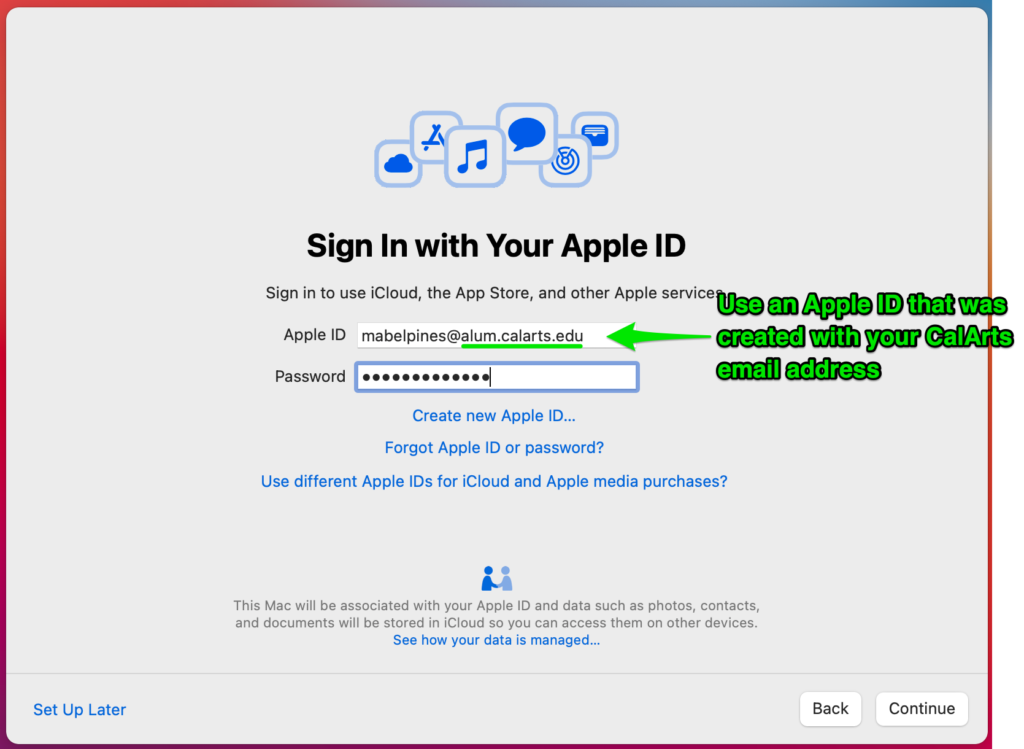
When prompted to sign in with an Apple ID, use one that’s linked to your CalArts email address.
If you don’t have an Apple ID with your CalArts email address, it’s highly recommended that you create one using a separate device first.
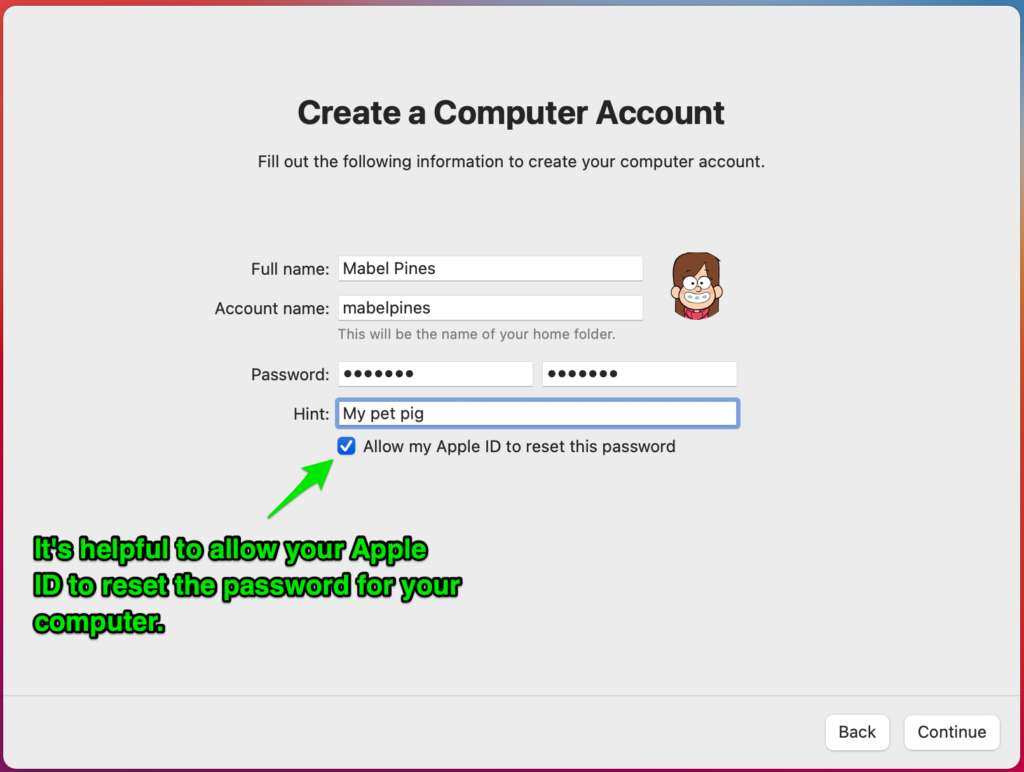
Using your CalArts email will allow you to use that Apple ID to reset the password for the computer, should you ever need to do so.
Once you get through the rest of the setup process, you’ll be taken to your desktop.
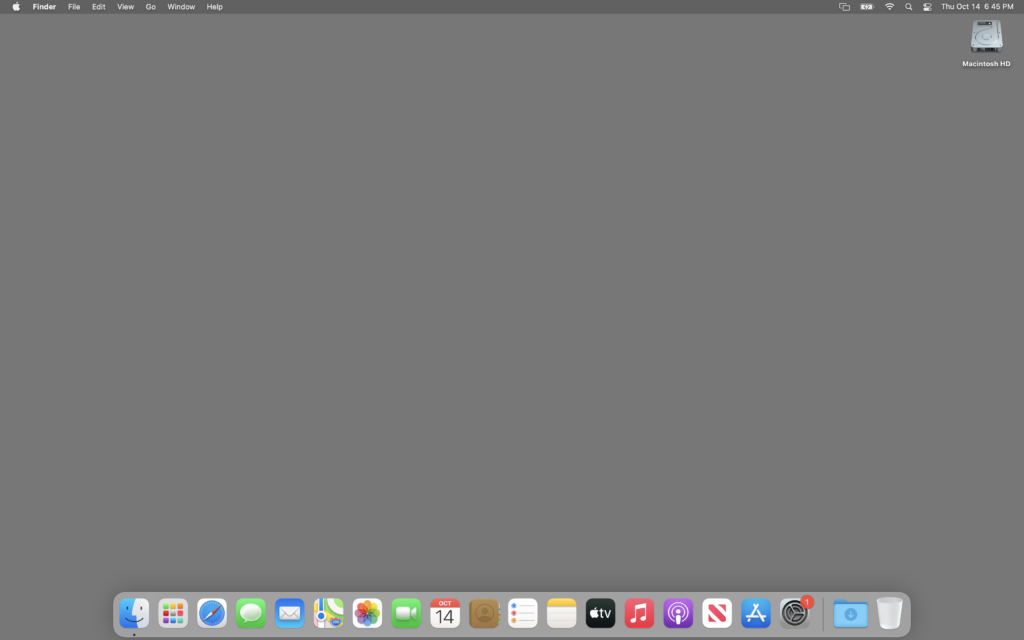
A few things are still being installed in the background, so you may notice your background or Dock change a couple of times. Even so, you can begin using the computer as normal.
Self Service
The Self Service app provides you with resources and software downloads, and will be periodically updated to provide additional information, functionality, or software updates for you.
To access the Self Service app, check inside your Applications folder.
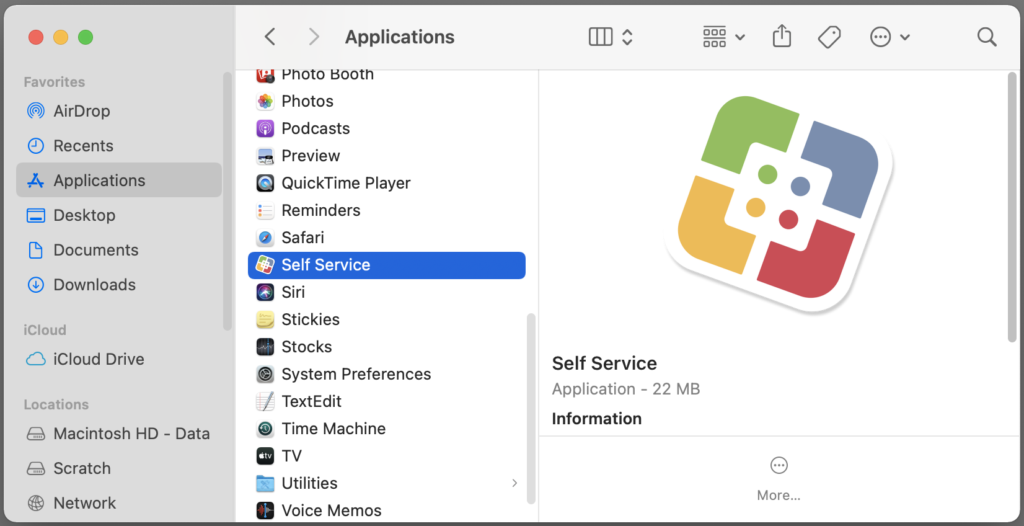
If you just received the computer and do not see the Self Service app, it may be still installing. However, if you don’t see it within an hour, email 2popsupport@calarts.edu for assistance.
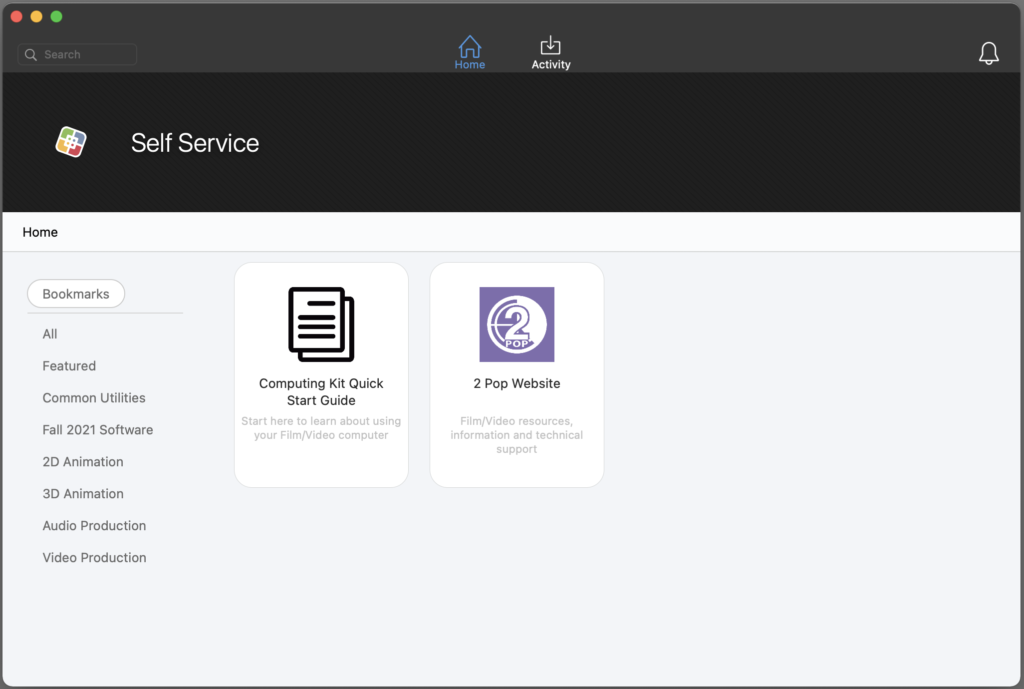
When you open the Self Service app, it will display a couple of bookmarks that may be handy for future reference: a link to this guide, as well as a link to the 2 Pop website.
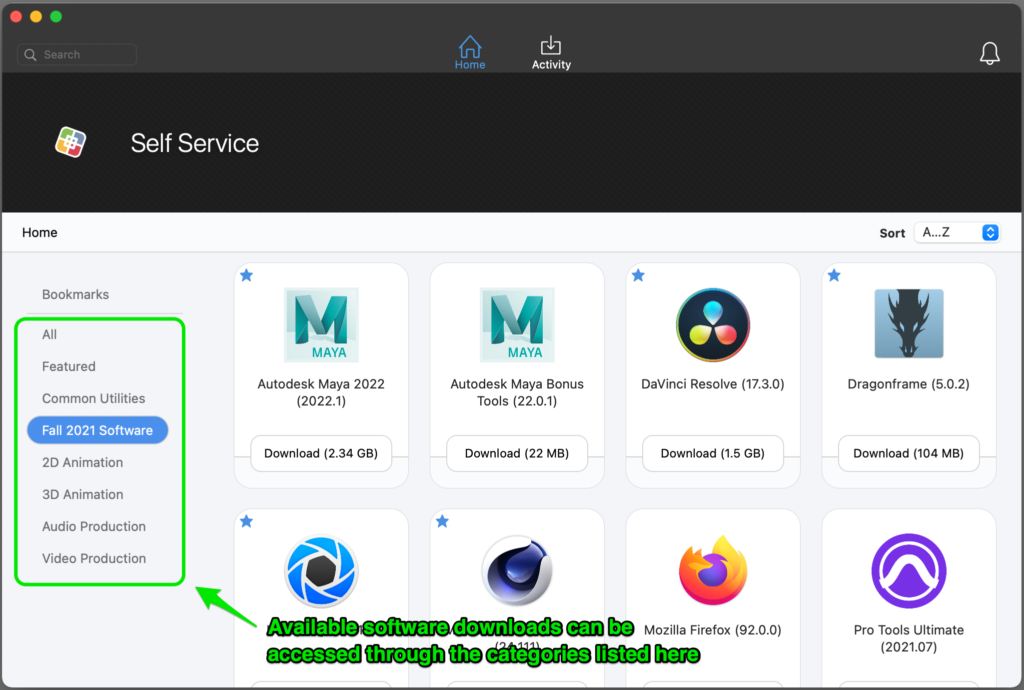
In addition to the bookmarks, you can also download and install software applications. The left-hand pane of Self Service categorizes these applications to help you find what you’re looking for. Most of the major apps will be in a category reflecting the current semester.
Note that Adobe applications can only be downloaded and installed using the Creative Cloud Desktop application. See section on Adobe Apps below.
To download and install an application, you simply need to click the Download button below the application. It will download and install automatically.
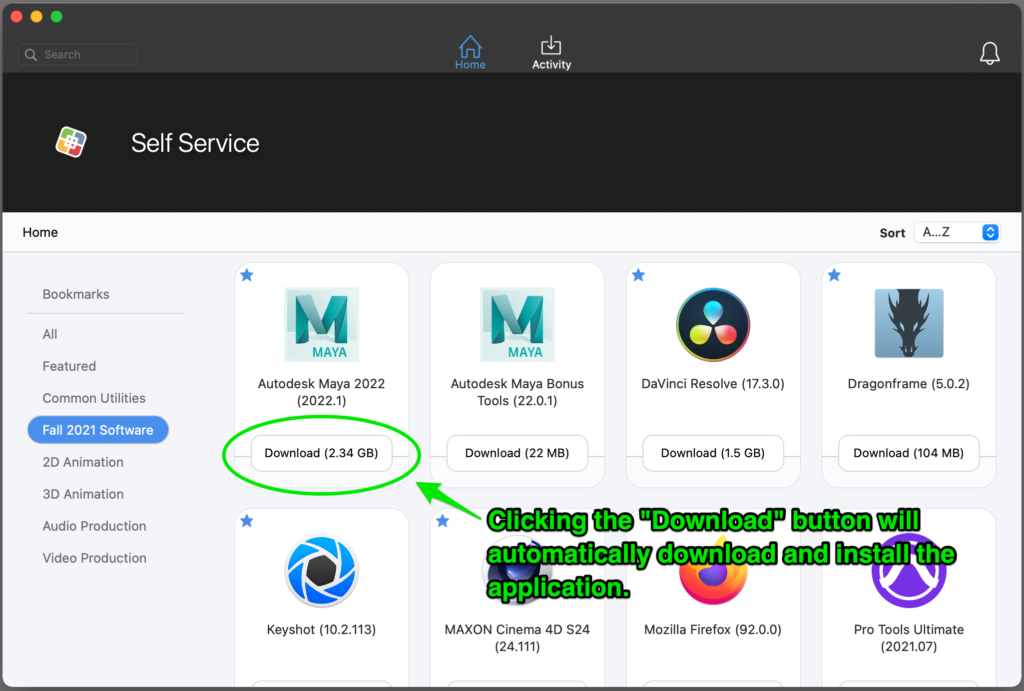
Download times will vary, depending on the speed of your internet connection. Each application will list the size of the download, which hopefully may help you gauge the amount of time it may take to download.
Unfortunately, there is currently no way to see an active status of the download/installation process, so it may seem to be stuck or idle at times. Please be patient, and if it seems to really be taking a long time, submit a ticket for assistance.
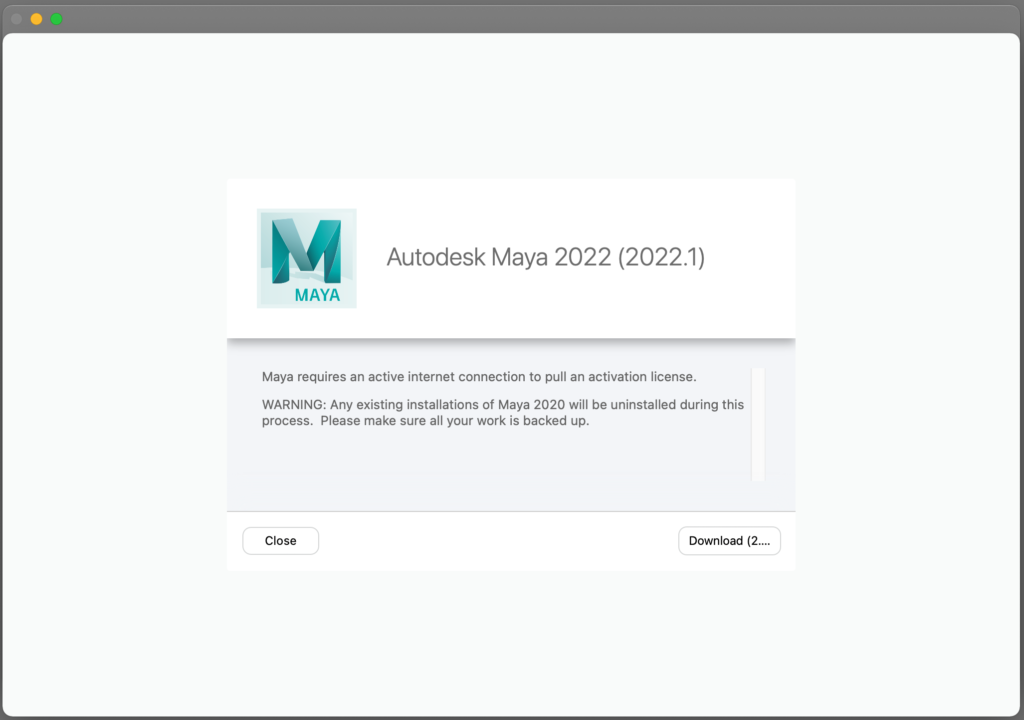
Some applications require an active internet connection in order to activate and launch. These applications will prompt you prior to installation to make sure you’re aware.
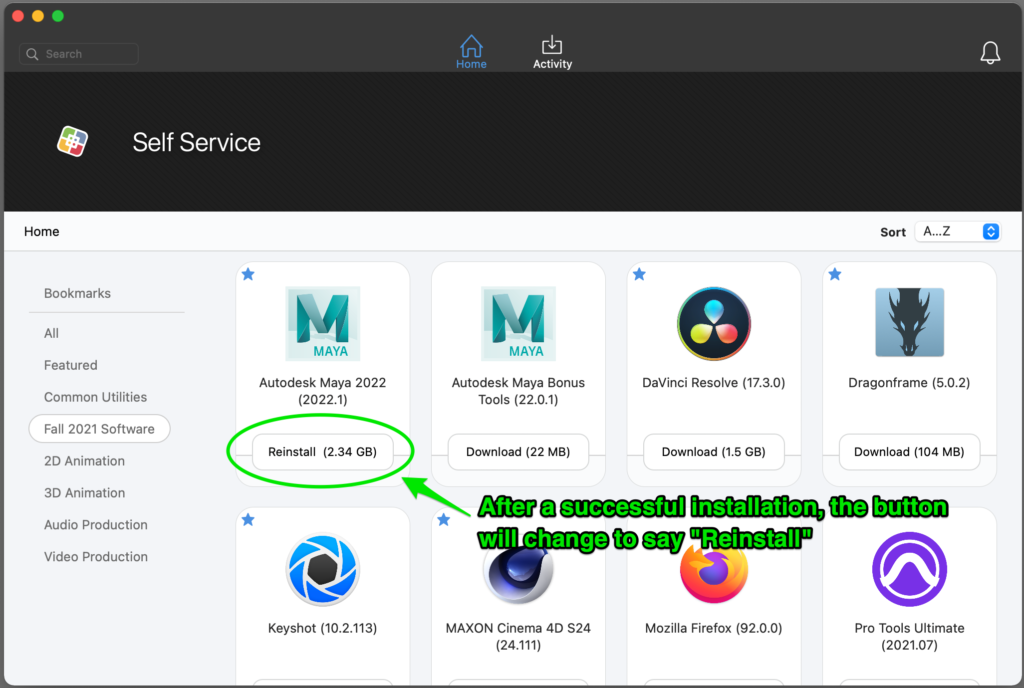
Once an application is successfully downloaded and installed, the button will change from Download to Reinstall.
Adobe Apps
Adobe applications can only be downloaded from the Creative Cloud app. They will not show as being available in Self Service.
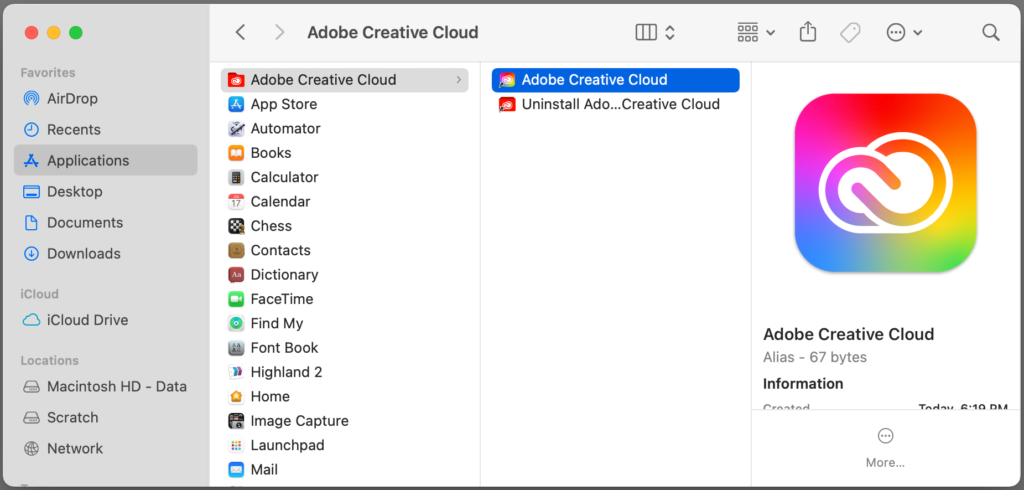
The Adobe Creative Cloud app can be found inside your Applications folder.
The first time you launch the Creative Cloud app, it will immediately open a browser window and prompt you to log in.
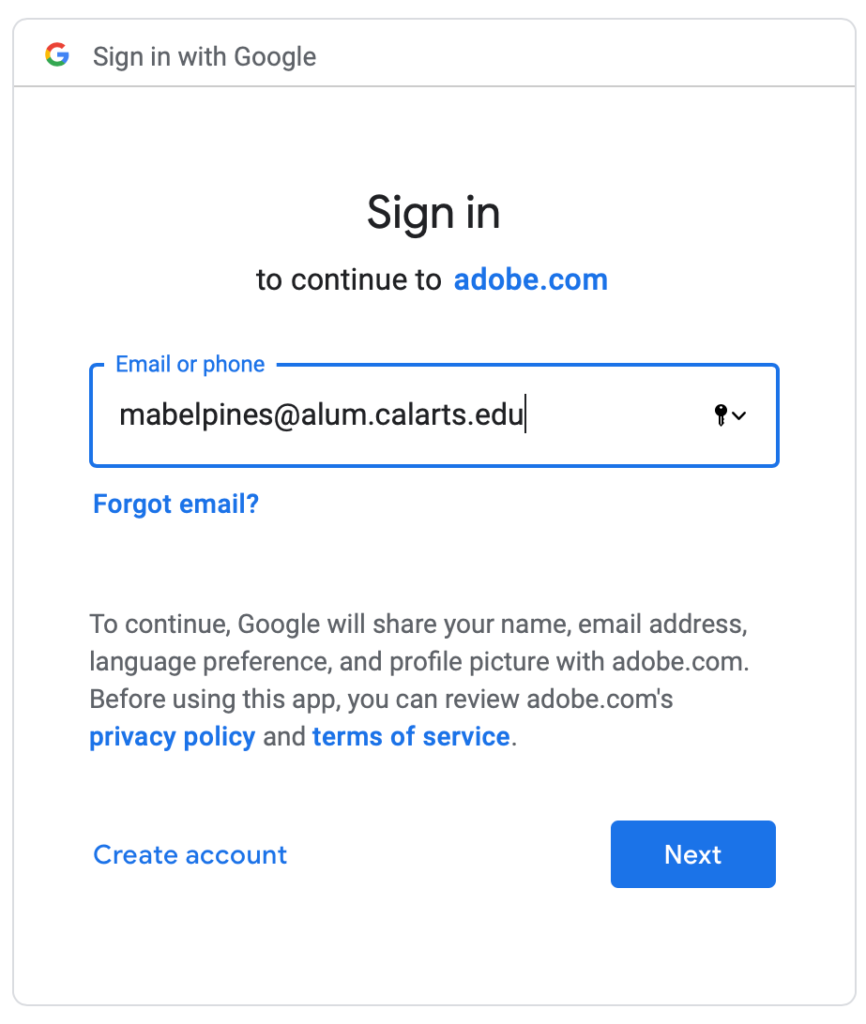
To obtain the proper Adobe license, it’s very important that you first click the button that says Continue with Google.
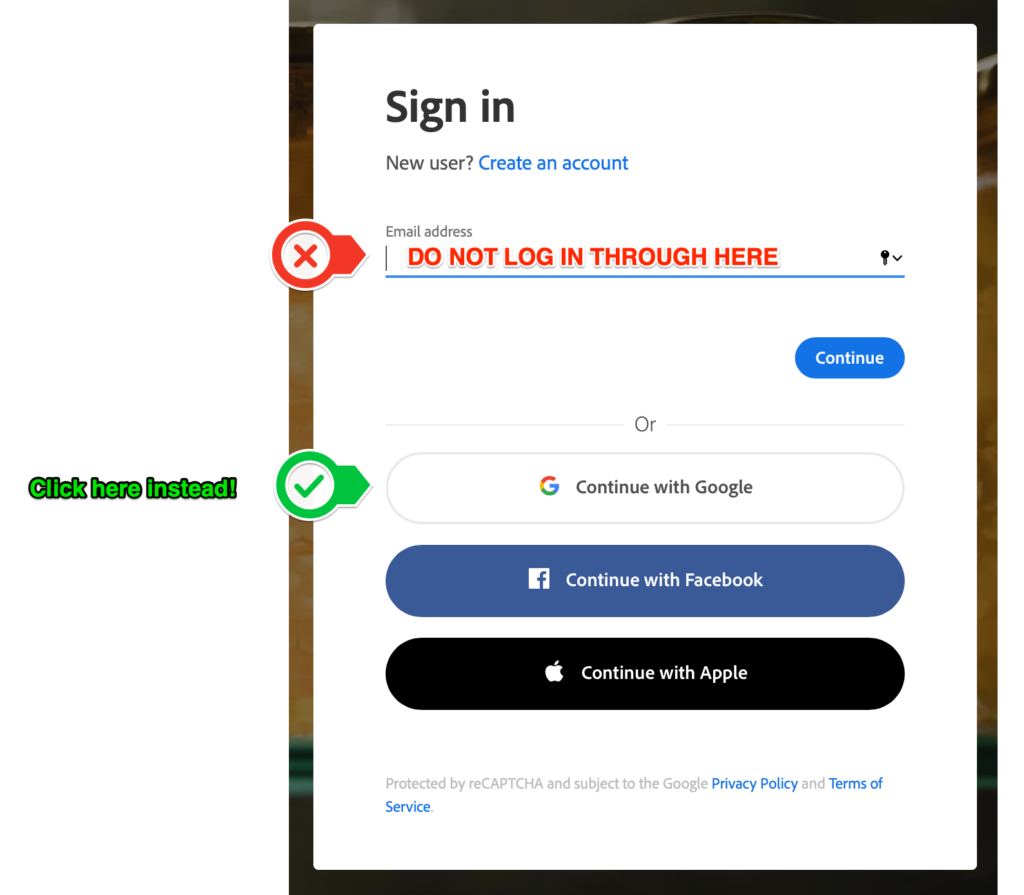
At the Google sign in page, enter your CalArts email address and password.
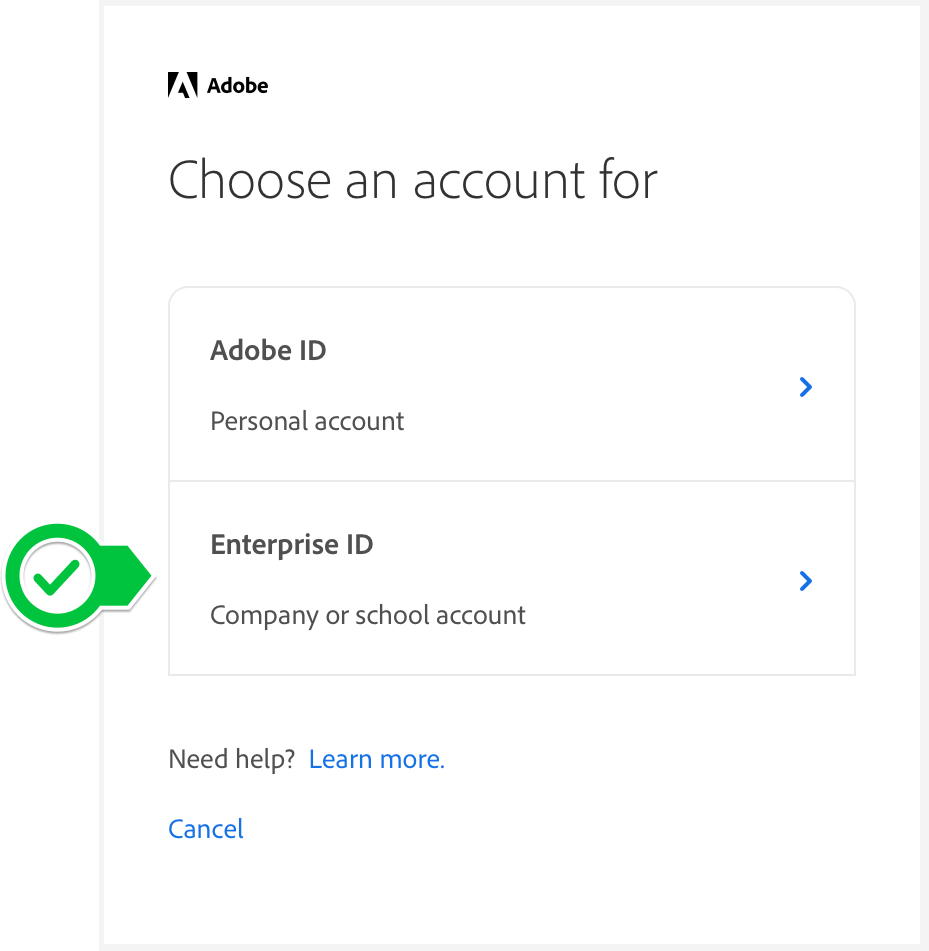
If you get prompted to choose an Adobe ID or an Enterprise ID, choose Enterprise ID.
Once it authenticates successfully, Creative Cloud will automatically update and launch itself.
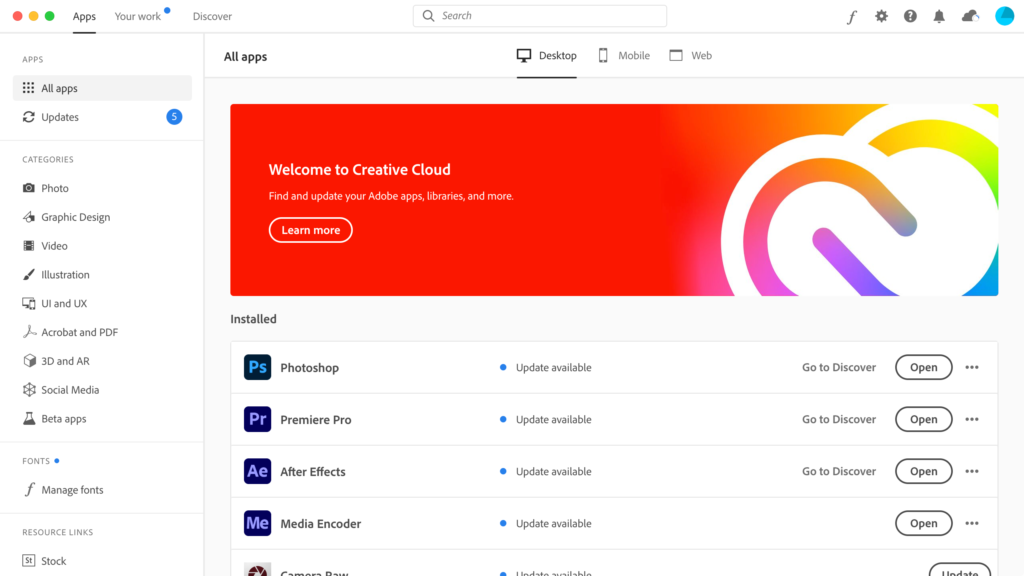
To install additional Adobe apps, make sure you’re in the All apps section, then scroll down to see the list of available apps to install.
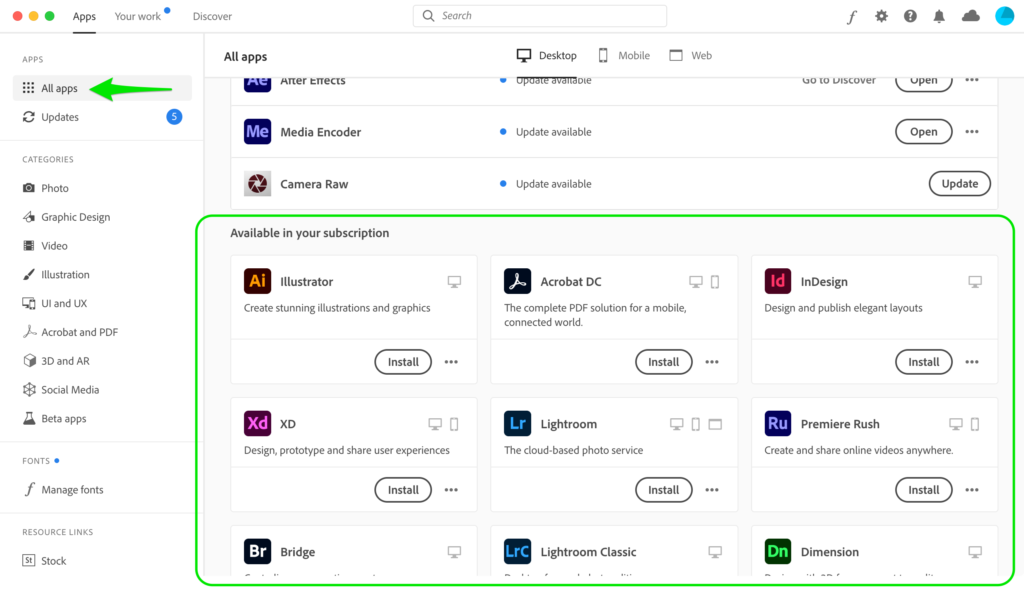
From there, simply click the Install button for whichever app you’d like, and it will download and install automatically.