
Pencil Test Systems
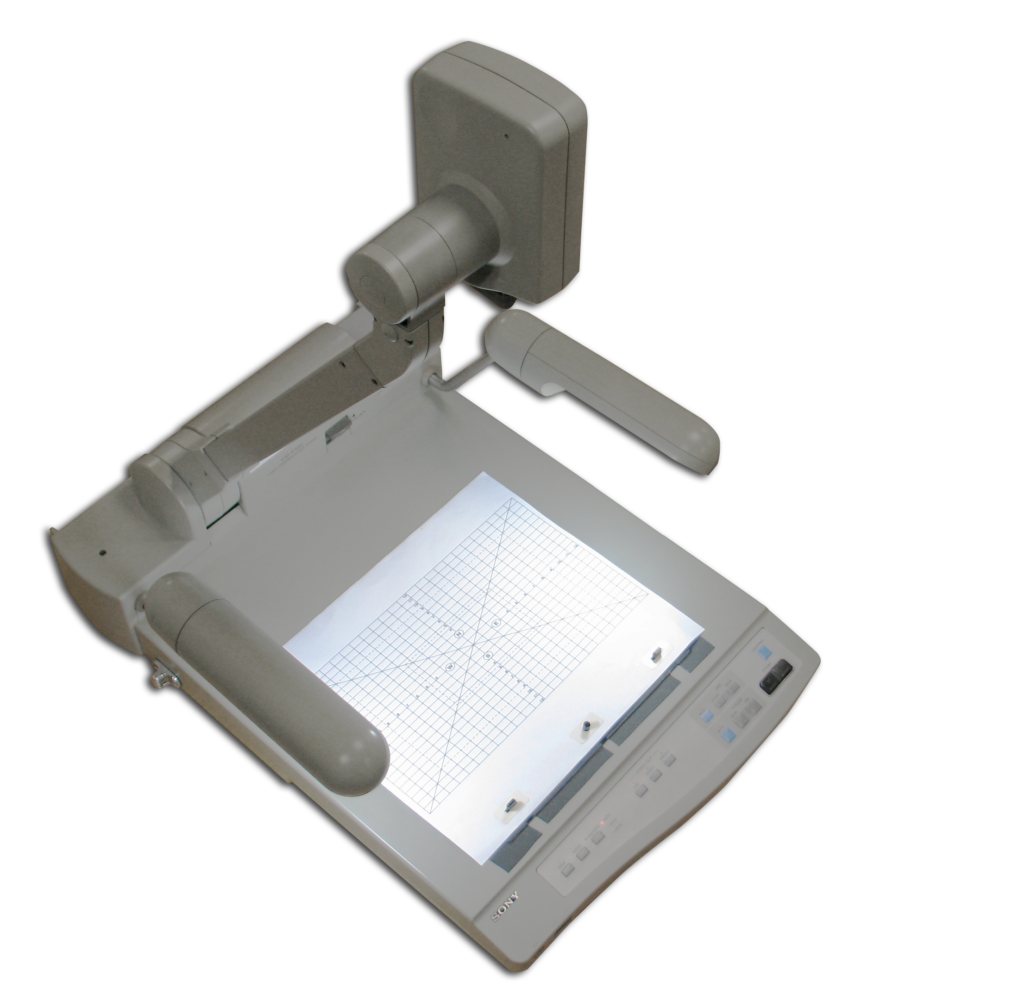
Using the Sony camera stands
Power
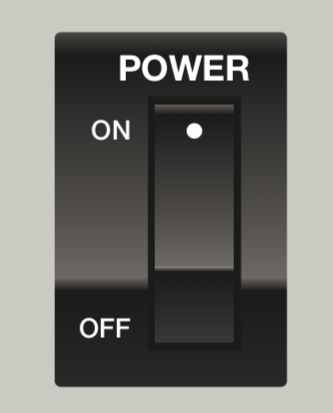
Turn on the camera stand’s power switch before launching TVPaint.
When finished working – please turn the power off. This will help extend the life of the camera and lights.
The Camera
The camera can be rotated towards or away from you, but does not move left or right. The peg bars do not move. By default, the camera should point at the center of a 12 field sheet of animation paper.
Controls
The camera has electronic controls for lighting, zoom, exposure, focus, etc.
Lighting

Press this button to cycle through the different lighting options:
- Top lights
- Back lights
- Lights off
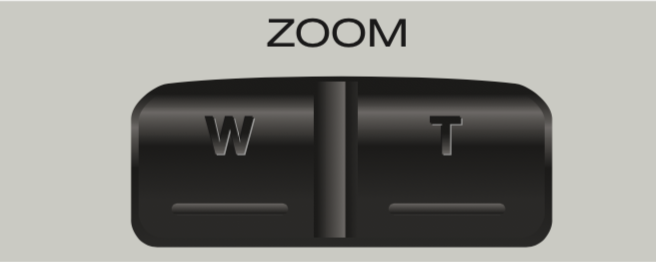
Zoom
Press W to zoom out (wide) or T to zoom in (telephoto).
Iris
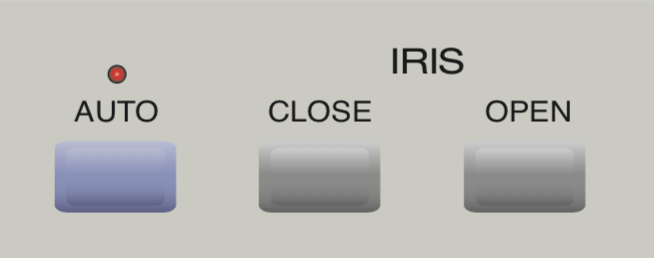
Press Close to make the image darker, press Open to make it brighter. Pressing Auto adjusts exposure automatically.
Focus
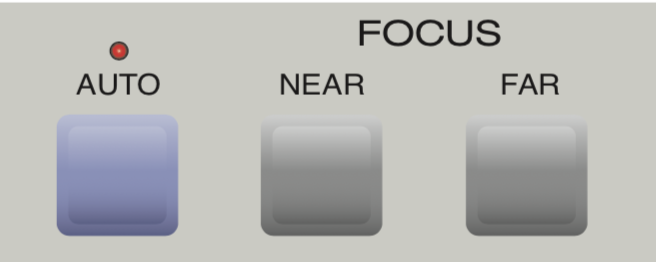
Pressing Near or Far will adjust the focus manually. Pressing Auto adjusts focus automatically.
Other controls
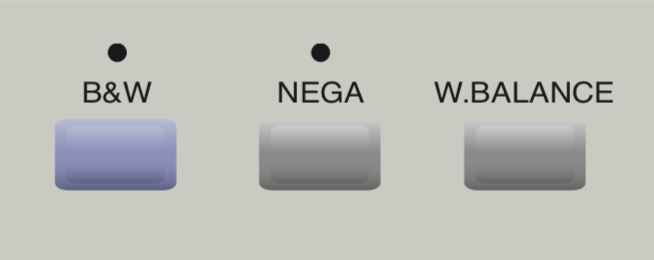
- Pressing B&W will remove all color from the image
- Pressing Nega will produce a negative image
- Pressing W. Balance will cycle through white balance options
Capturing with TVPaint
Setting up your project
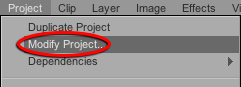
Open TVPaint. From the Project menu, select Modify Project…
From the Modify Project to menu, select NTSC > DV 4:3
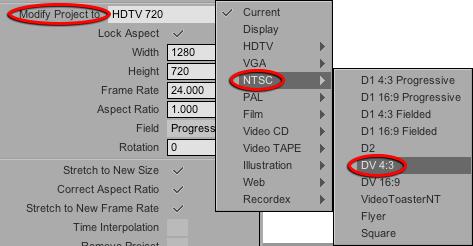
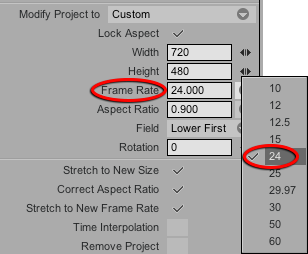
Change the Frame Rate to 24.
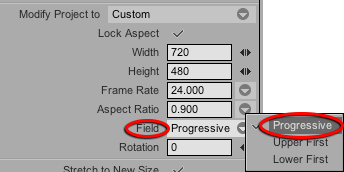
Change Field to Progressive.
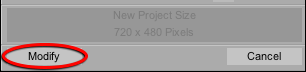
Click Modify to accept changes.
Shooting
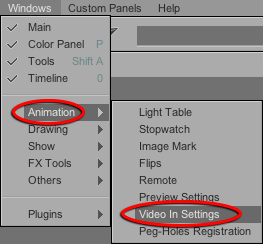
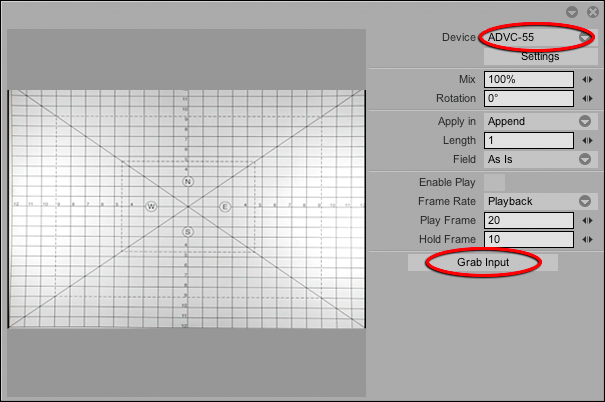
From the Windows menu, select Animation > Video In Settings.
In the Video Input window, click Grab Input to capture each frame.
Click and drag on the lower right corner of the window to make it larger.
Adjust the camera’s controls for the best image.
No picture?
If you don’t see the camera’s picture in the window, be sure the camera is turned on, and select ADVC- 55 from the Device menu at the top right of the window.