
Higher Resolution Settings for Cintel Scans
For higher resolution of your renders, follow these instructions after capturing the film:
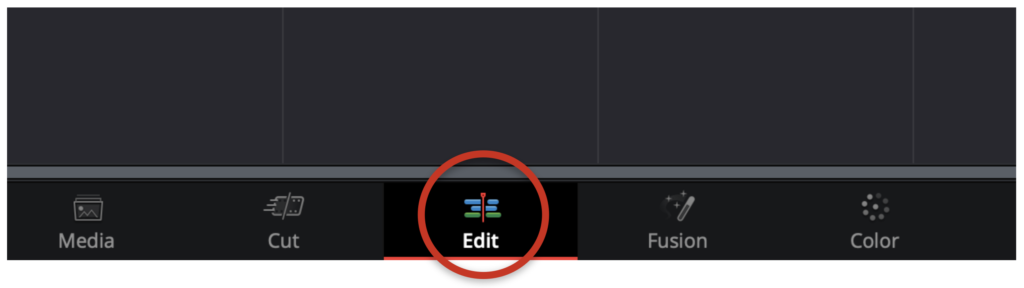
- Go to the Edit page.
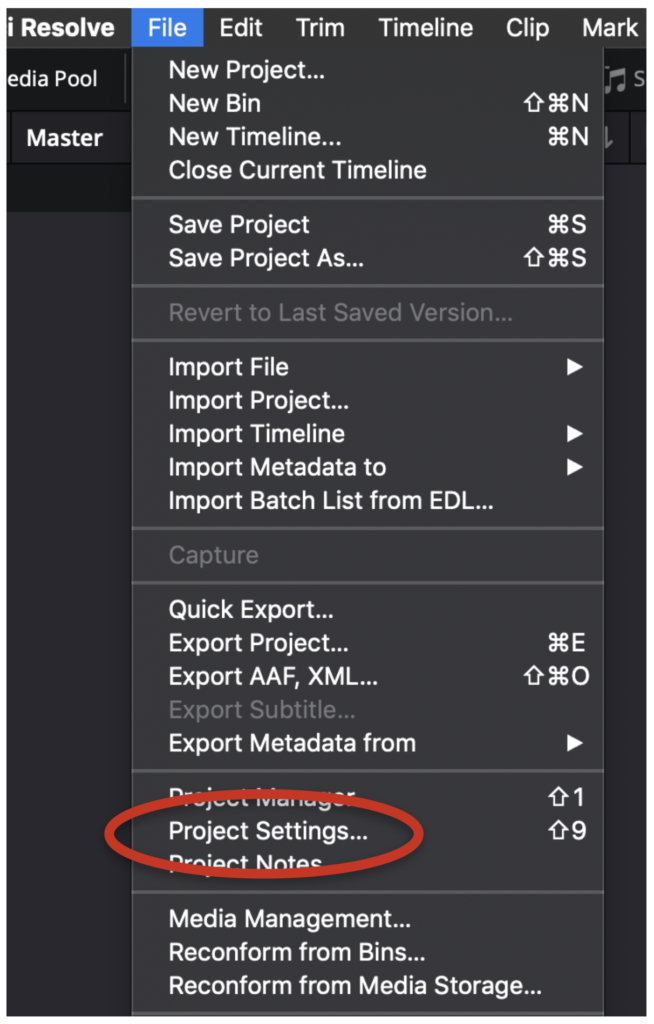
- Go to File > Project Settings or (Shift + 9).
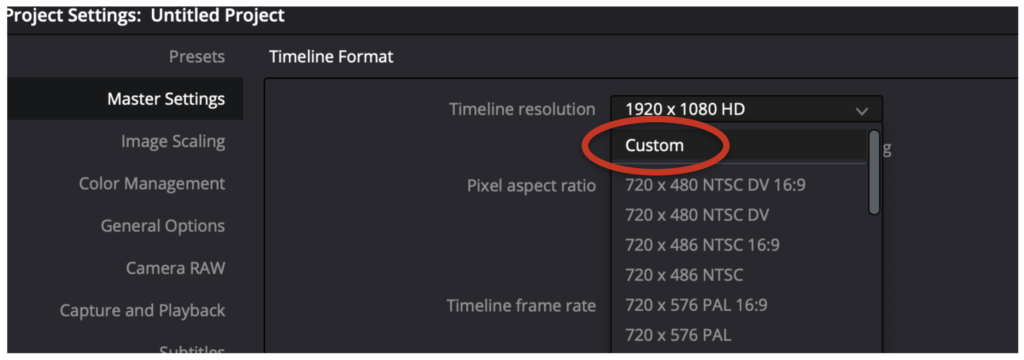
- Go to the Masters Settings tab, click the drop down menu for Timeline resolution and choose Custom.
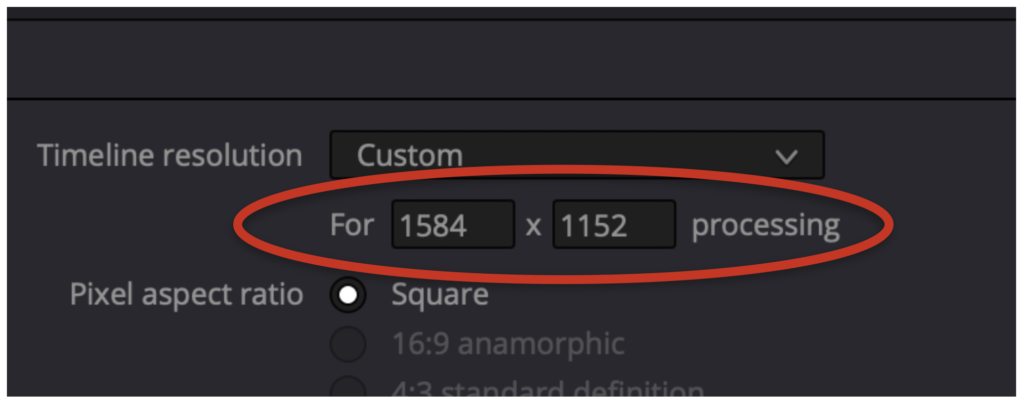
- Input the effective resolution based on film type from the table below:
| Effective Resolutions | Film Type |
| 1582 x 1154 | Standard 16mm |
| 1904 x 1144 | Super 16mm |
| 3390 x 2466 | Anamorphic 35mm |
| 3390 x 2684 | Standard 35mm |
| 3840 x 2880 | Super 35mm |
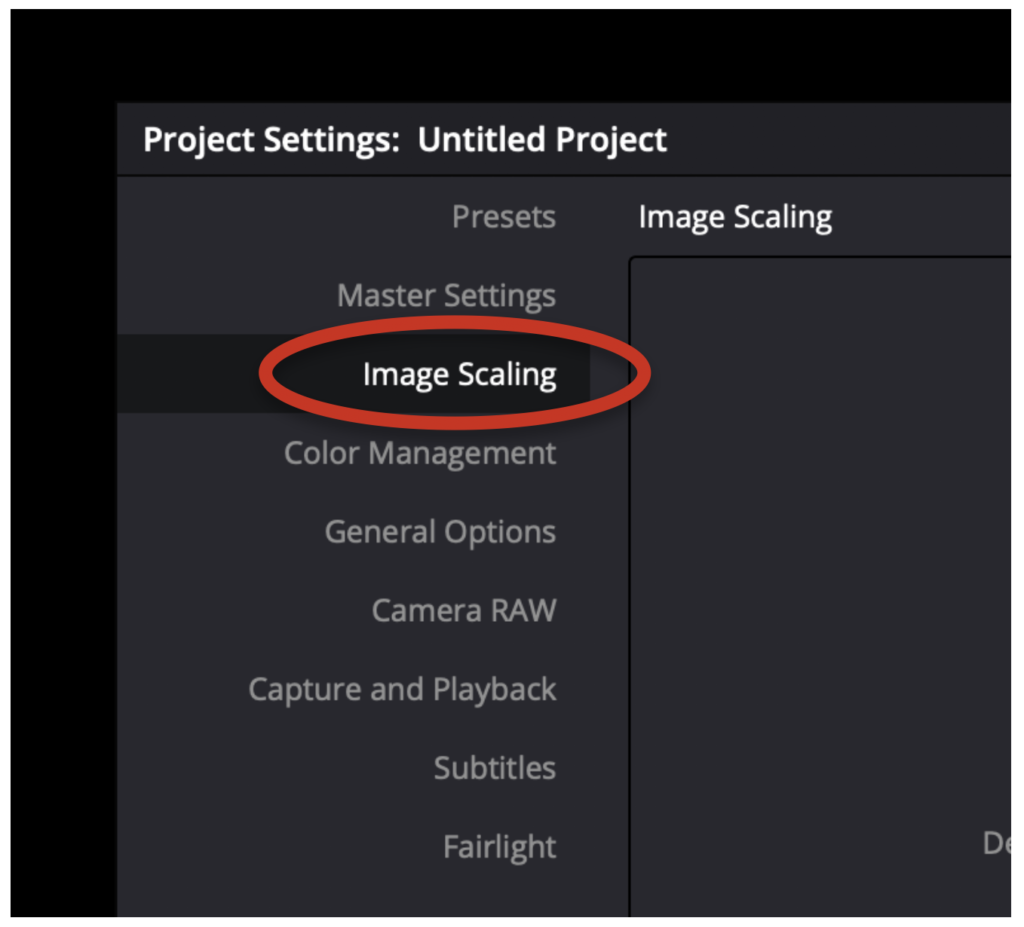
- Go to the Image Scaling tab of the Project Settings window.
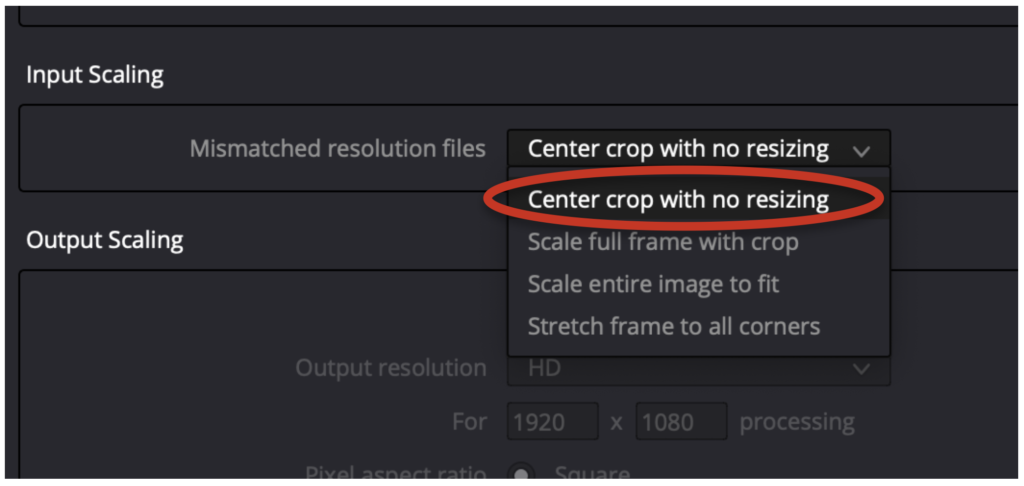
- Under Input Scaling, click the drop down menu for Mismatched resolution files and select Center crop with no resizing.
- Close the Project Settings window.
- Drag the clips you captured from the Media Pool into the timeline.
- Go to the Color page.

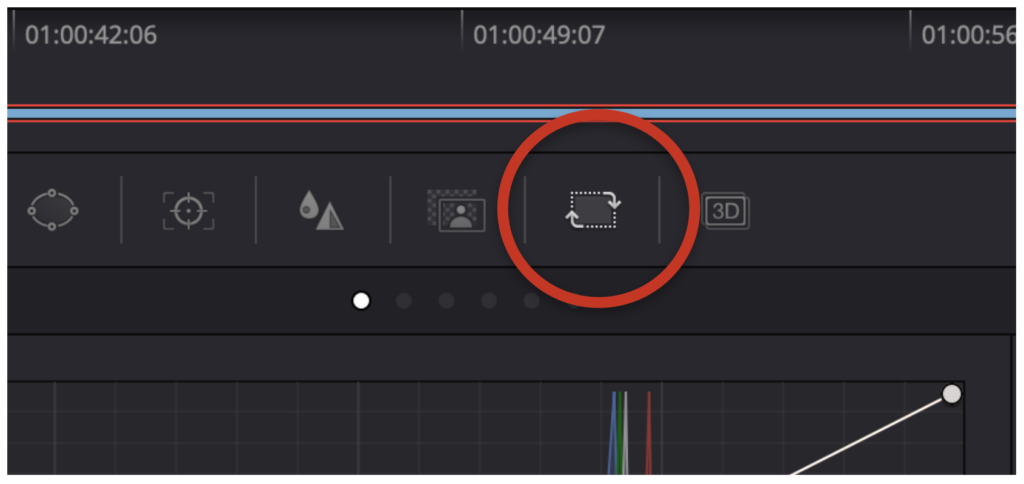
- Select the first clip on the timeline and go to the sizing window
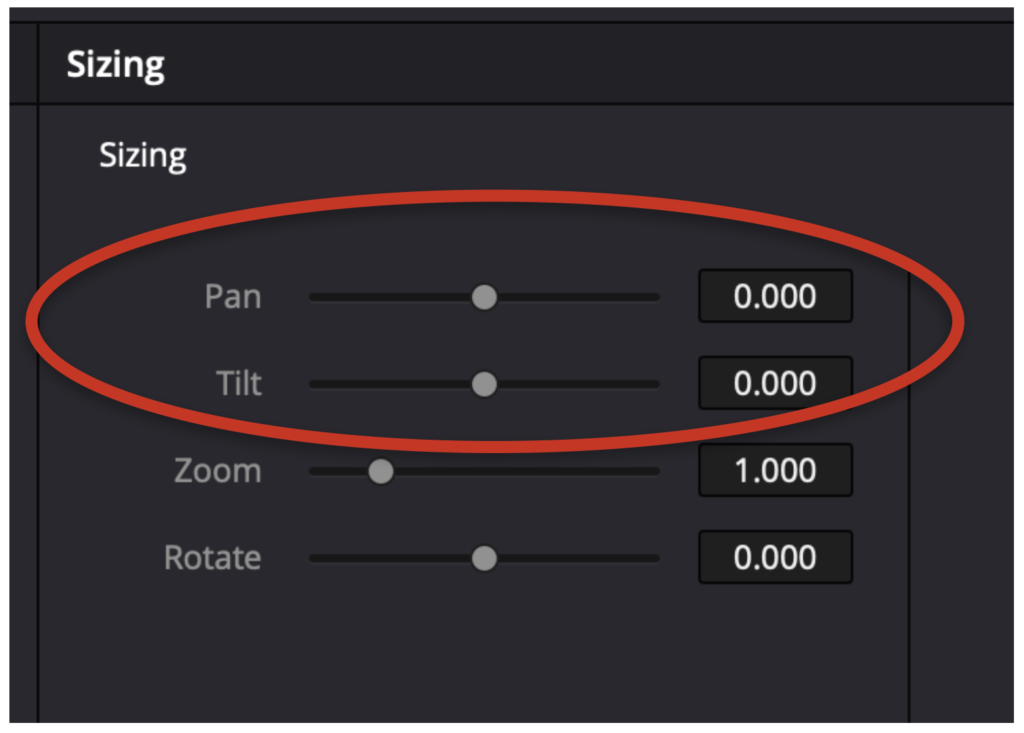
- Use the Pan and Tilt values to recenter the image to fit the new resolution of your timeline. You must do the resizing before any color correction.
- If requested, you can apply a basic color correction to the clips as explained in the color correction article.
- You can now deliver the clips and you’ll notice that the Deliver resolution will be the same as the Effective Resolution you chose in the Project Settings for your Timeline.
Remember to tell your clients that this will be the resolution of their renders and they will need to consider this for the rest of their workflow. Advise them to create a sequence in their editing software with the resolution they want for the final export and then import the scanned files and resize them to the final resolution.