
Connecting Your Computer to a Cintiq
Installing Drivers
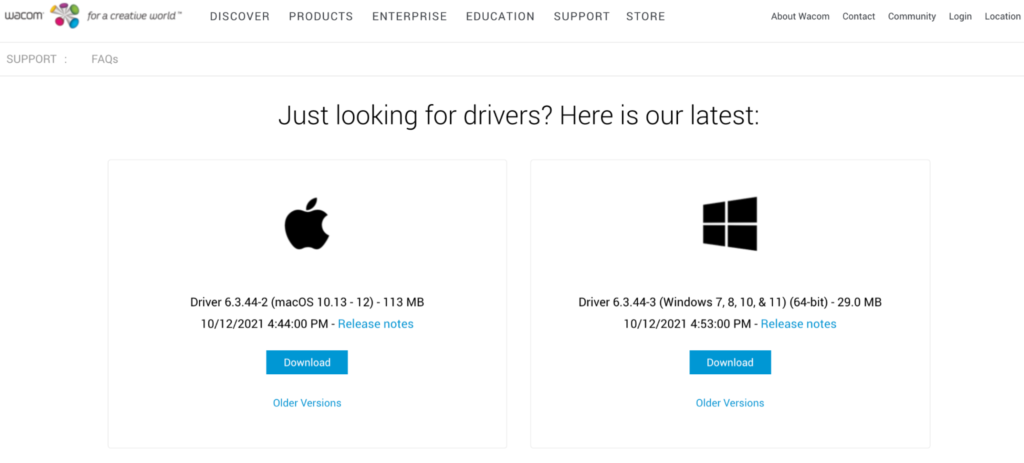
Before connecting your computer to a Cintiq, you’ll need to install the Wacom drivers on your computer if you haven’t installed them yet.
You can download the Wacom drivers from this link.
Simply click the download button under the operating system of your personal computer.
After you’ve downloaded the drivers, double-click on the installer application to go through the installation process.
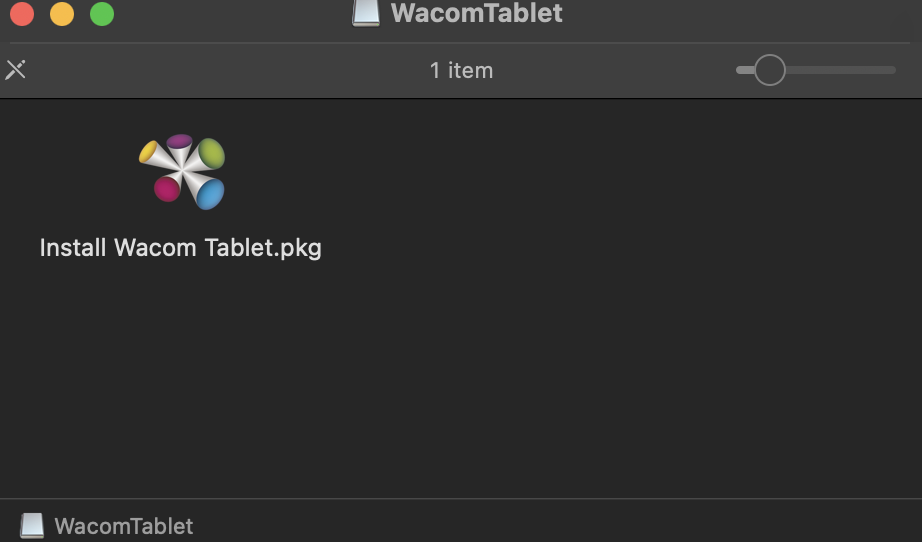
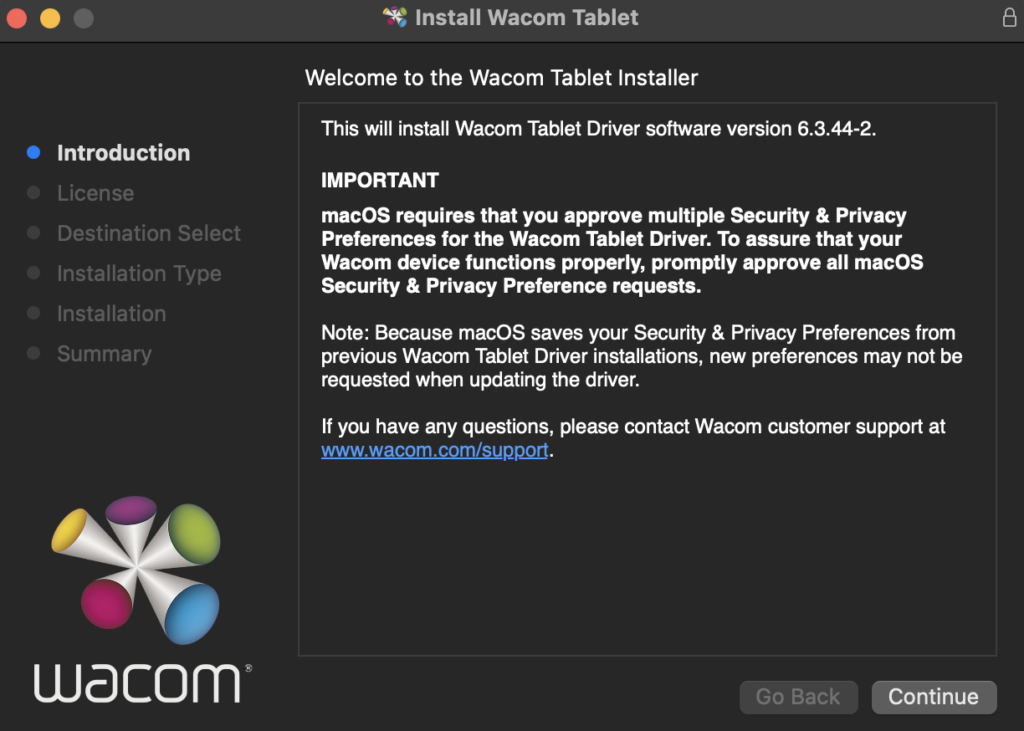
You will need to restart your computer to complete the installation.
Connecting Cables
Once the drivers are installed, there are two ways to connect the cables of the Cintiq to your computer. The first is by the USB-C cable coming from the Cintiq.
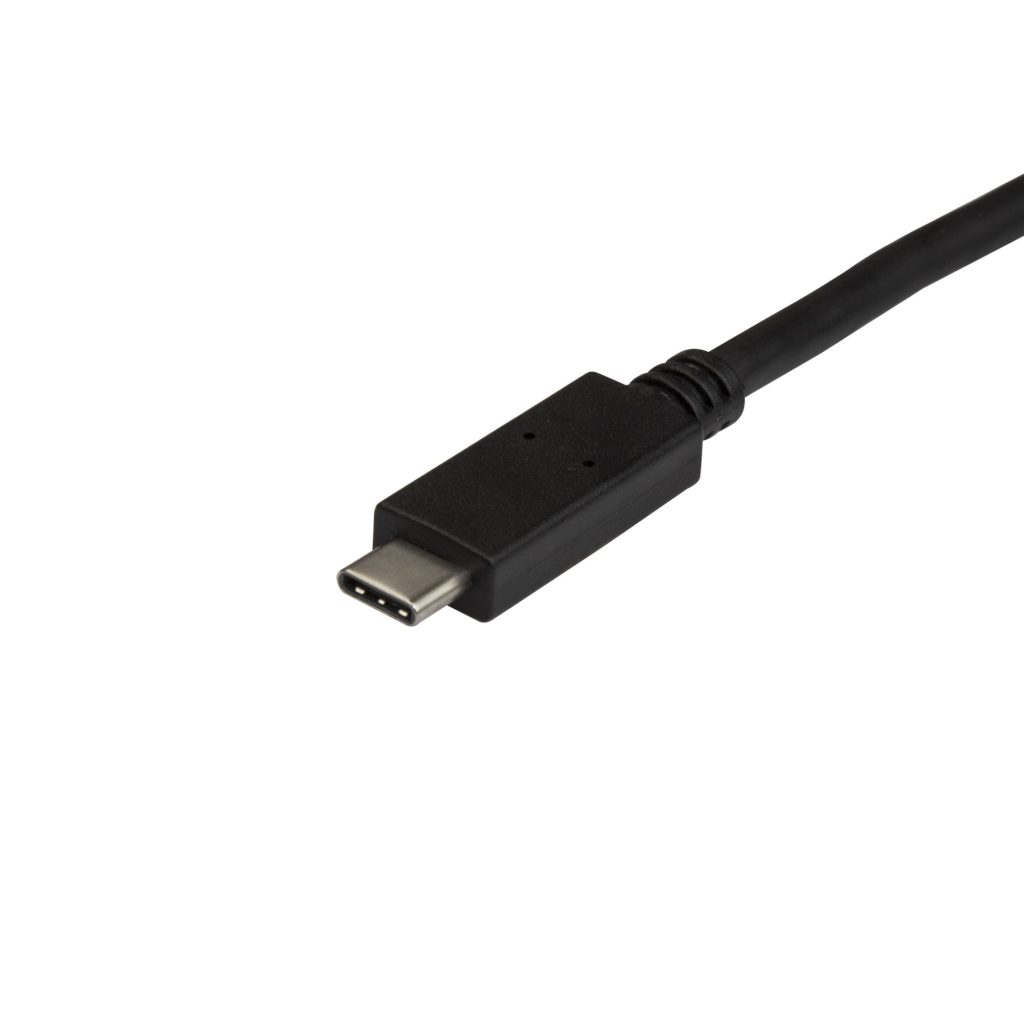
This will be the cable used with most MacBooks and MacBook Pros, and is the preferred method if your computer has USB-C capabilities, as it carries both display data and touchscreen data in the same cable.
The second method of connecting your personal computer is via HDMI and USB cables:
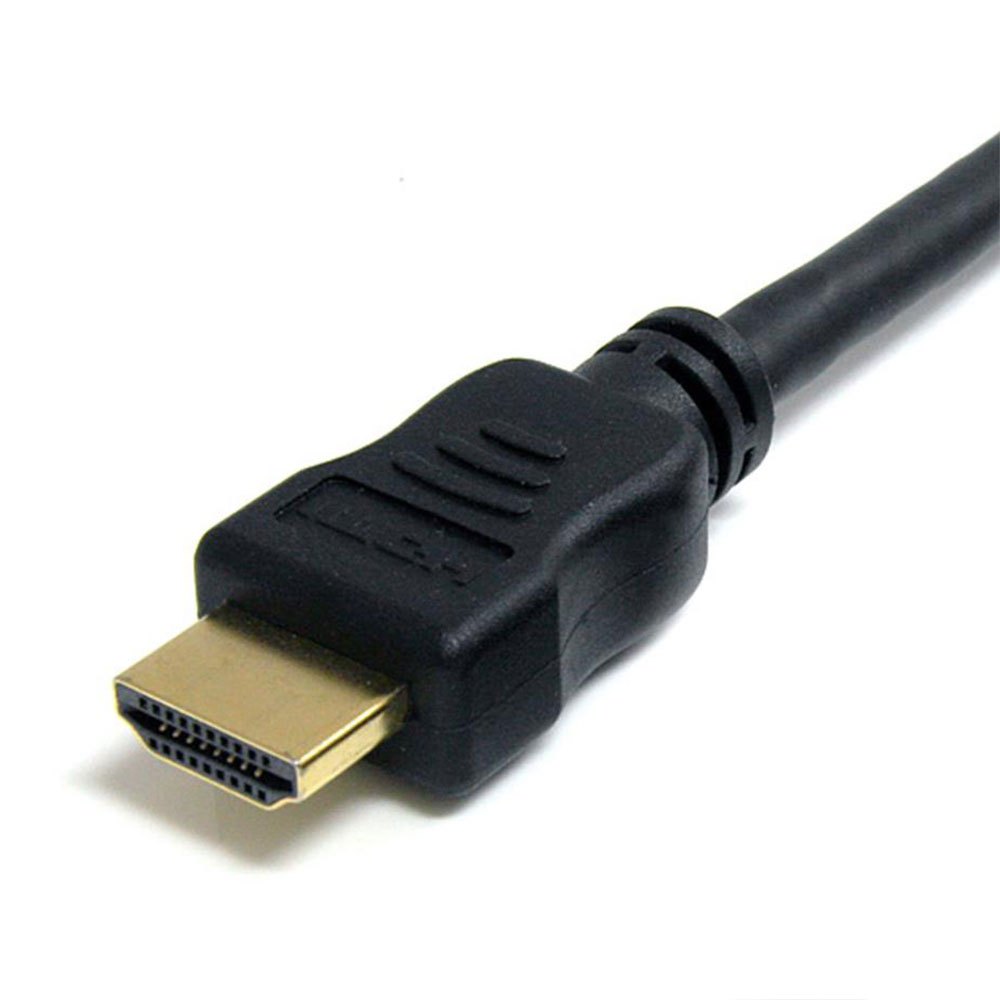
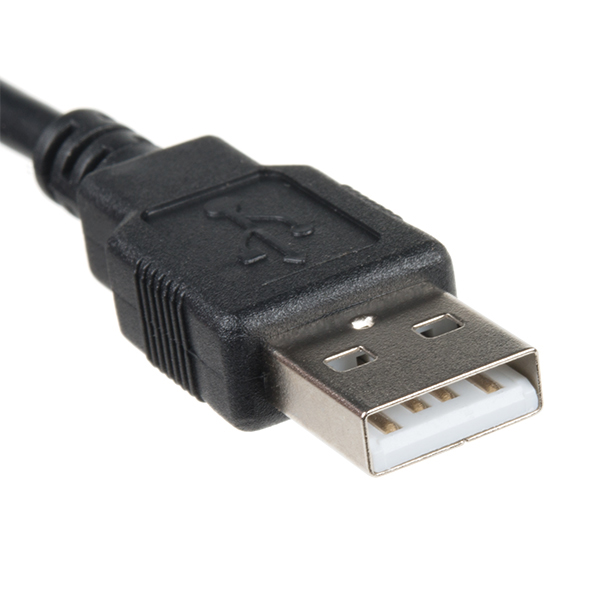
Connect the HDMI cable to the HDMI port on your computer, and USB-A cable to a USB-A port on your computer. If your computer does not have both of these ports, you may need to purchase an adapter to fit your computer’s needs. The HDMI will carry display data, and the USB-A cable will carry the pen’s touchscreen data.